After making these, hand pies are one of my new favourite desserts. They’re surprisingly easy, delicious, and customizable. These hand-held treats are perfect for birthdays, holidays or craving-driven baking sprees.
I recently got thinking about the fact that I haven’t ever properly made my own pie crust. I’m not a huge dessert person and I don’t bake pie very often, but I feel like it’s a skill anyone who associates themselves with a food blog should have. My first try was a success and I ended up making two batches in two days. For my first batch I left out the caramel sauce because I’m an idiot. The second batch was perfected by the sweet & salty addition and I wouldn’t have it any other way now.
I adapted and combined two separate recipes to create this. One is from Just A Taste and the other is from Sally’s Baking Addiction. The instructions may look long, but for my first attempt the recipe took less than 2 hours total and reaped great results. Don’t be intimidated!
I’m calling these pies “double salted” because I sprinkled sea salt on top of the pies, and then made a salted caramel sauce to drizzle over top. The result is awesome, take my word for it. Also, I had some people from Emerge filming the making-of this recipe, so you may get a glimpse of that in a few weeks! 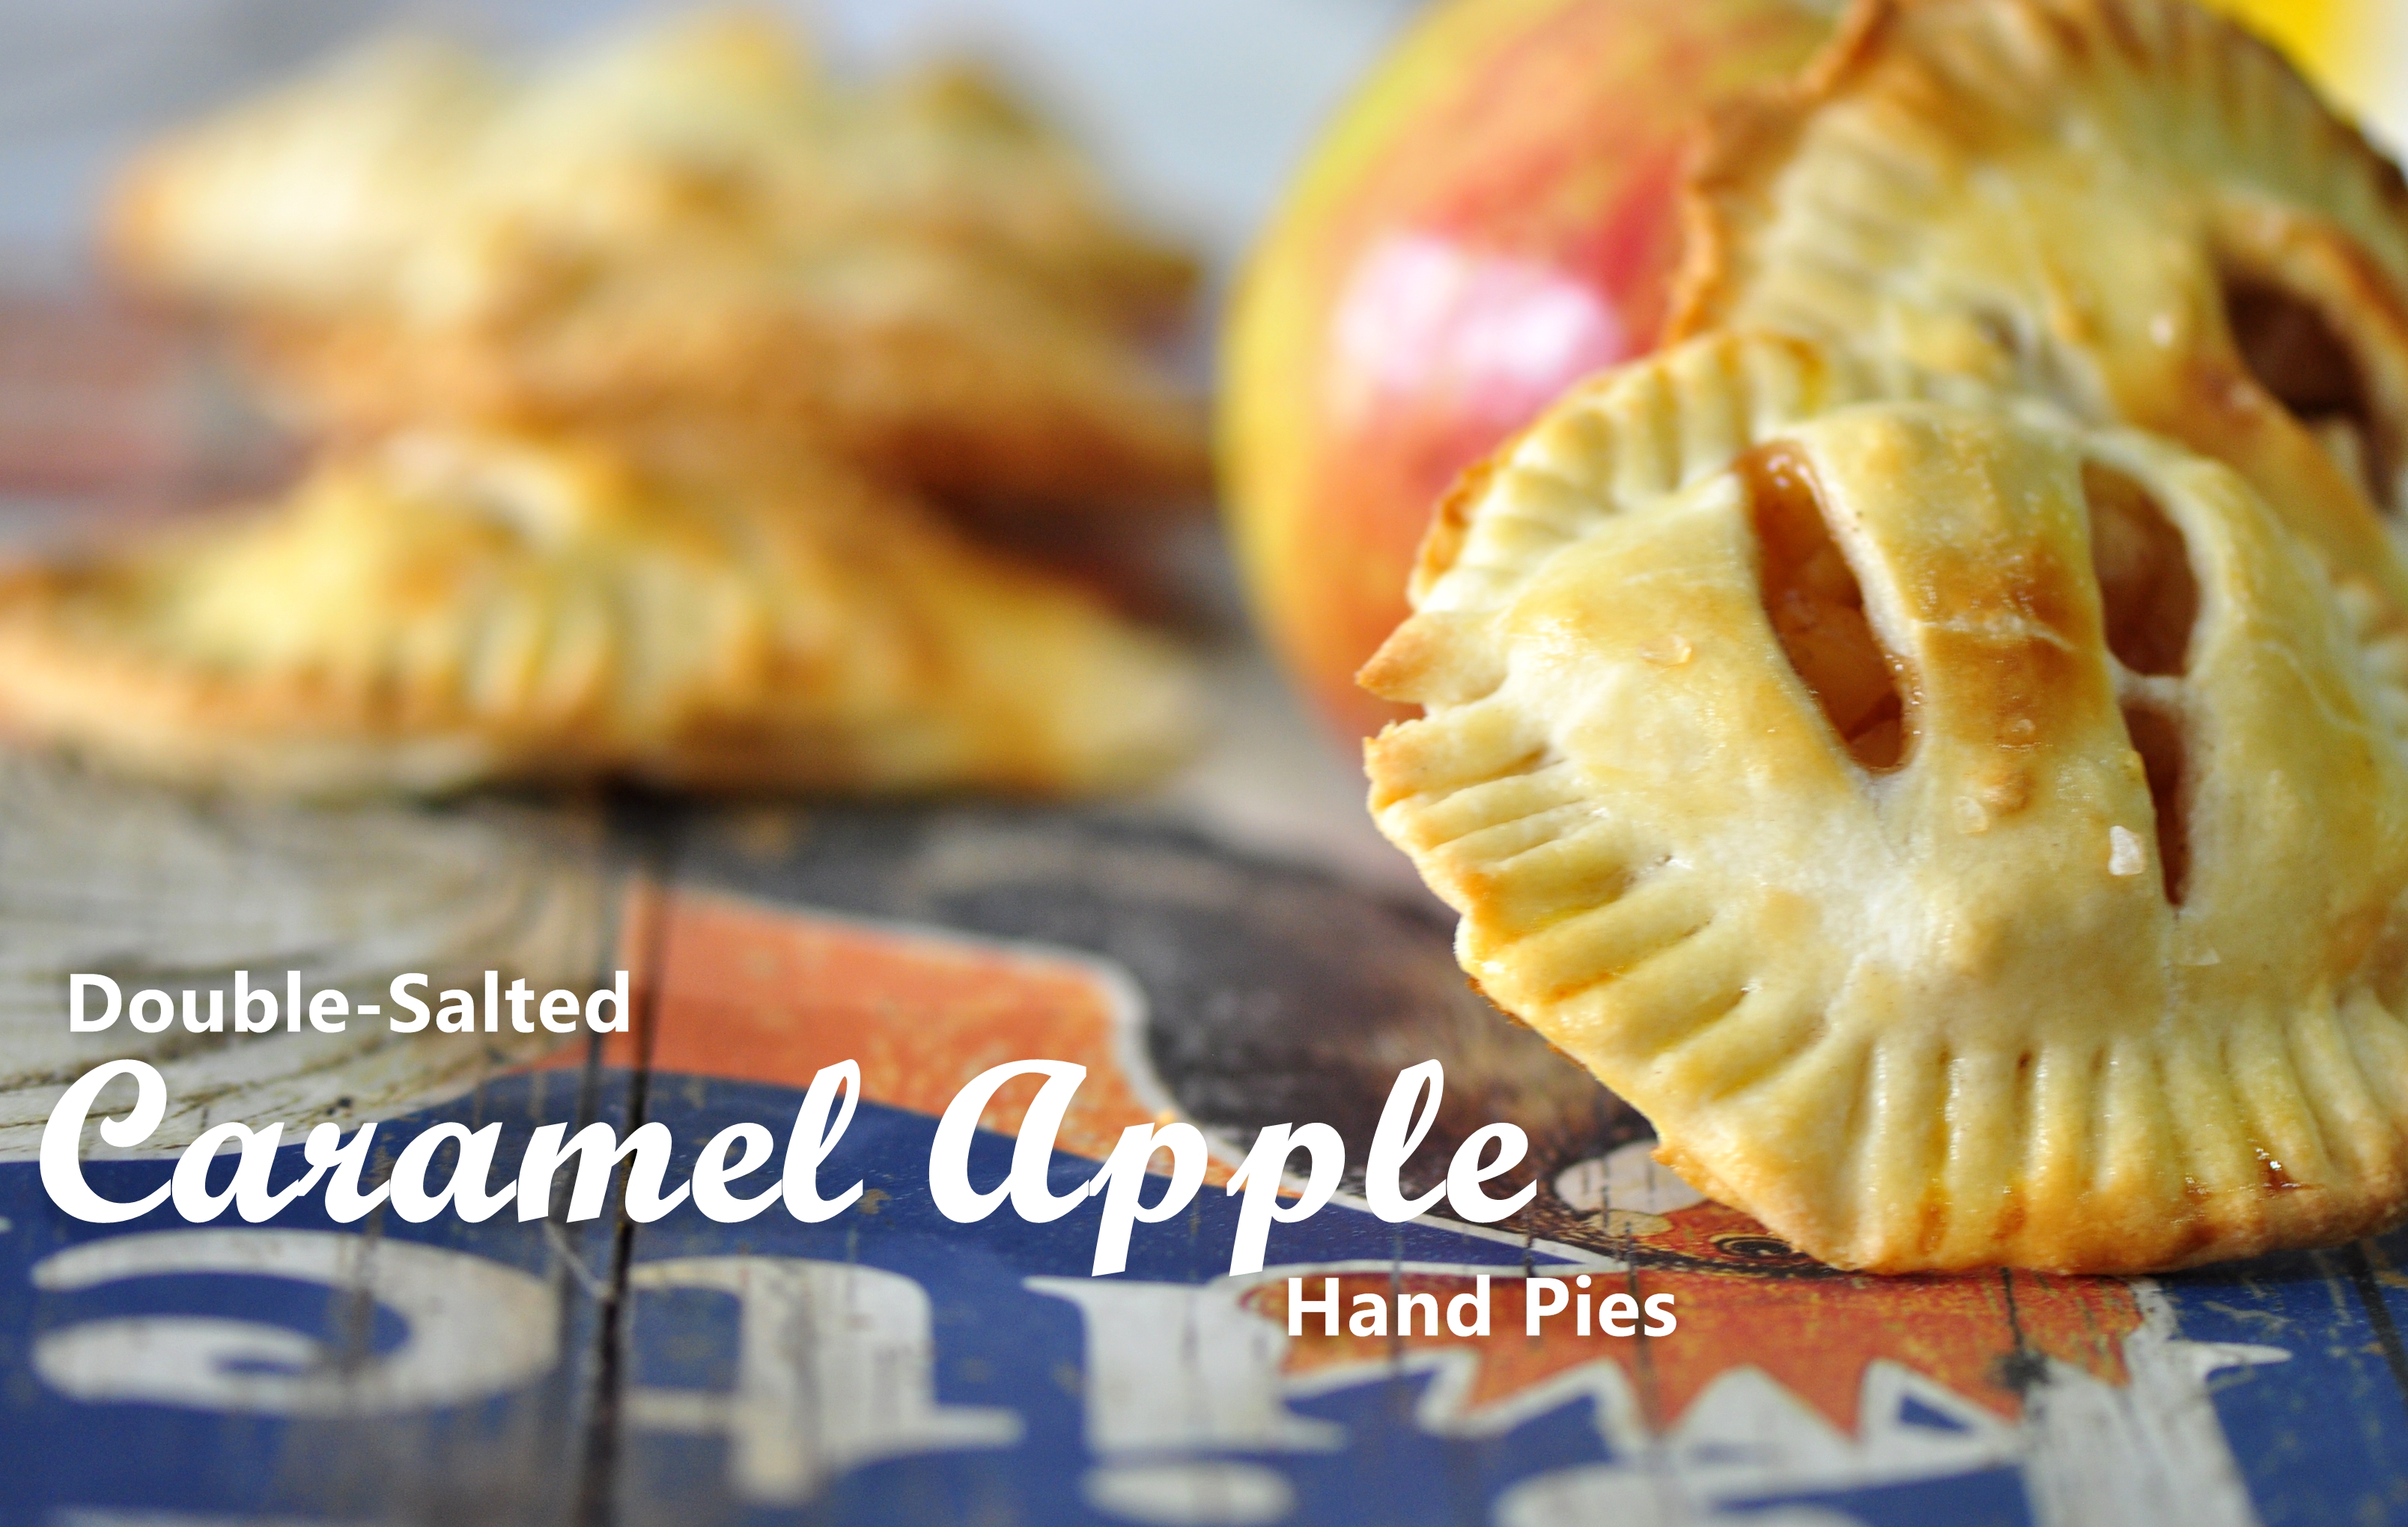
Ingredients
Makes about 10-12 hand pies
For the dough:
- 2 cups all-purpose flour
- 1/2 tsp. salt
- 1/2 tsp. baking powder
- 1 cup (2 sticks) cold unsalted butter, cut into cubes
- 1/2 cup cold sour cream
For the filling:
- 2 large Cortland apples, peeled and cut into corn kernel-sized pieces
- 1 tbsp. fresh lemon juice
- 1/2 tsp. cinnamon
- 1/3 cup granulated sugar
- 2 tsp. all-purpose flour
- Large flake sea salt
- 1 egg lightly whisked, plus 1 tbsp. water
For the caramel sauce:
- 1 cup granulated sugar
- 5-6 tbsp. salted butter, cut into cubes for easy melting
- 1/2 cup cold whipping cream (I used 36%)
- 3/4 tsp. salt
 Method
For the dough:
In a large bowl, combine flour, salt and baking powder. Once well mixed, add in butter a few cubes at a time, massaging into the dry mixture with your hands until you get the texture of wet sand. Mix in sour cream and knead dough together until well combined—the dough will be very wet and sticky at this point.
Turn dough out onto a well-floured surface, working and kneading the dough until it comes together, adding more flour, 1 teaspoon at a time, if the dough is too sticky to handle.
Roll the dough into an 8×10-inch rectangle* and dust with flour before folding it into thirds as if you were folding a letter.
Rotate the dough 90º and roll it out again into an 8×10-inch rectangle. Fold the dough again into thirds, then wrap it tightly in plastic wrap. Refrigerate it for 30 minutes while you make the filling.
*If you have trouble visualizing sizes, picture a regular sheet of paper. When the dough is rolled out, it should look about the same size.
For the filling:
Toss together apple pieces, lemon, cinnamon and sugar in a bowl. Mix until all apple pieces are well coated. Add in flour to thicken the mixture. Set aside until ready to use.
Making the pies:
Preheat oven to 425 degrees F.
Remove the dough from the refrigerator and carefully unfold it onto a lightly floured surface, rolling it out into a 14×14-inch square. Using a palm-sized circular cookie cutter or glass, cut out as many circles as you can from the dough. Gently remove the circles to a dry work space, then re-roll out remaining dough and continue the same process until all the dough is used up.
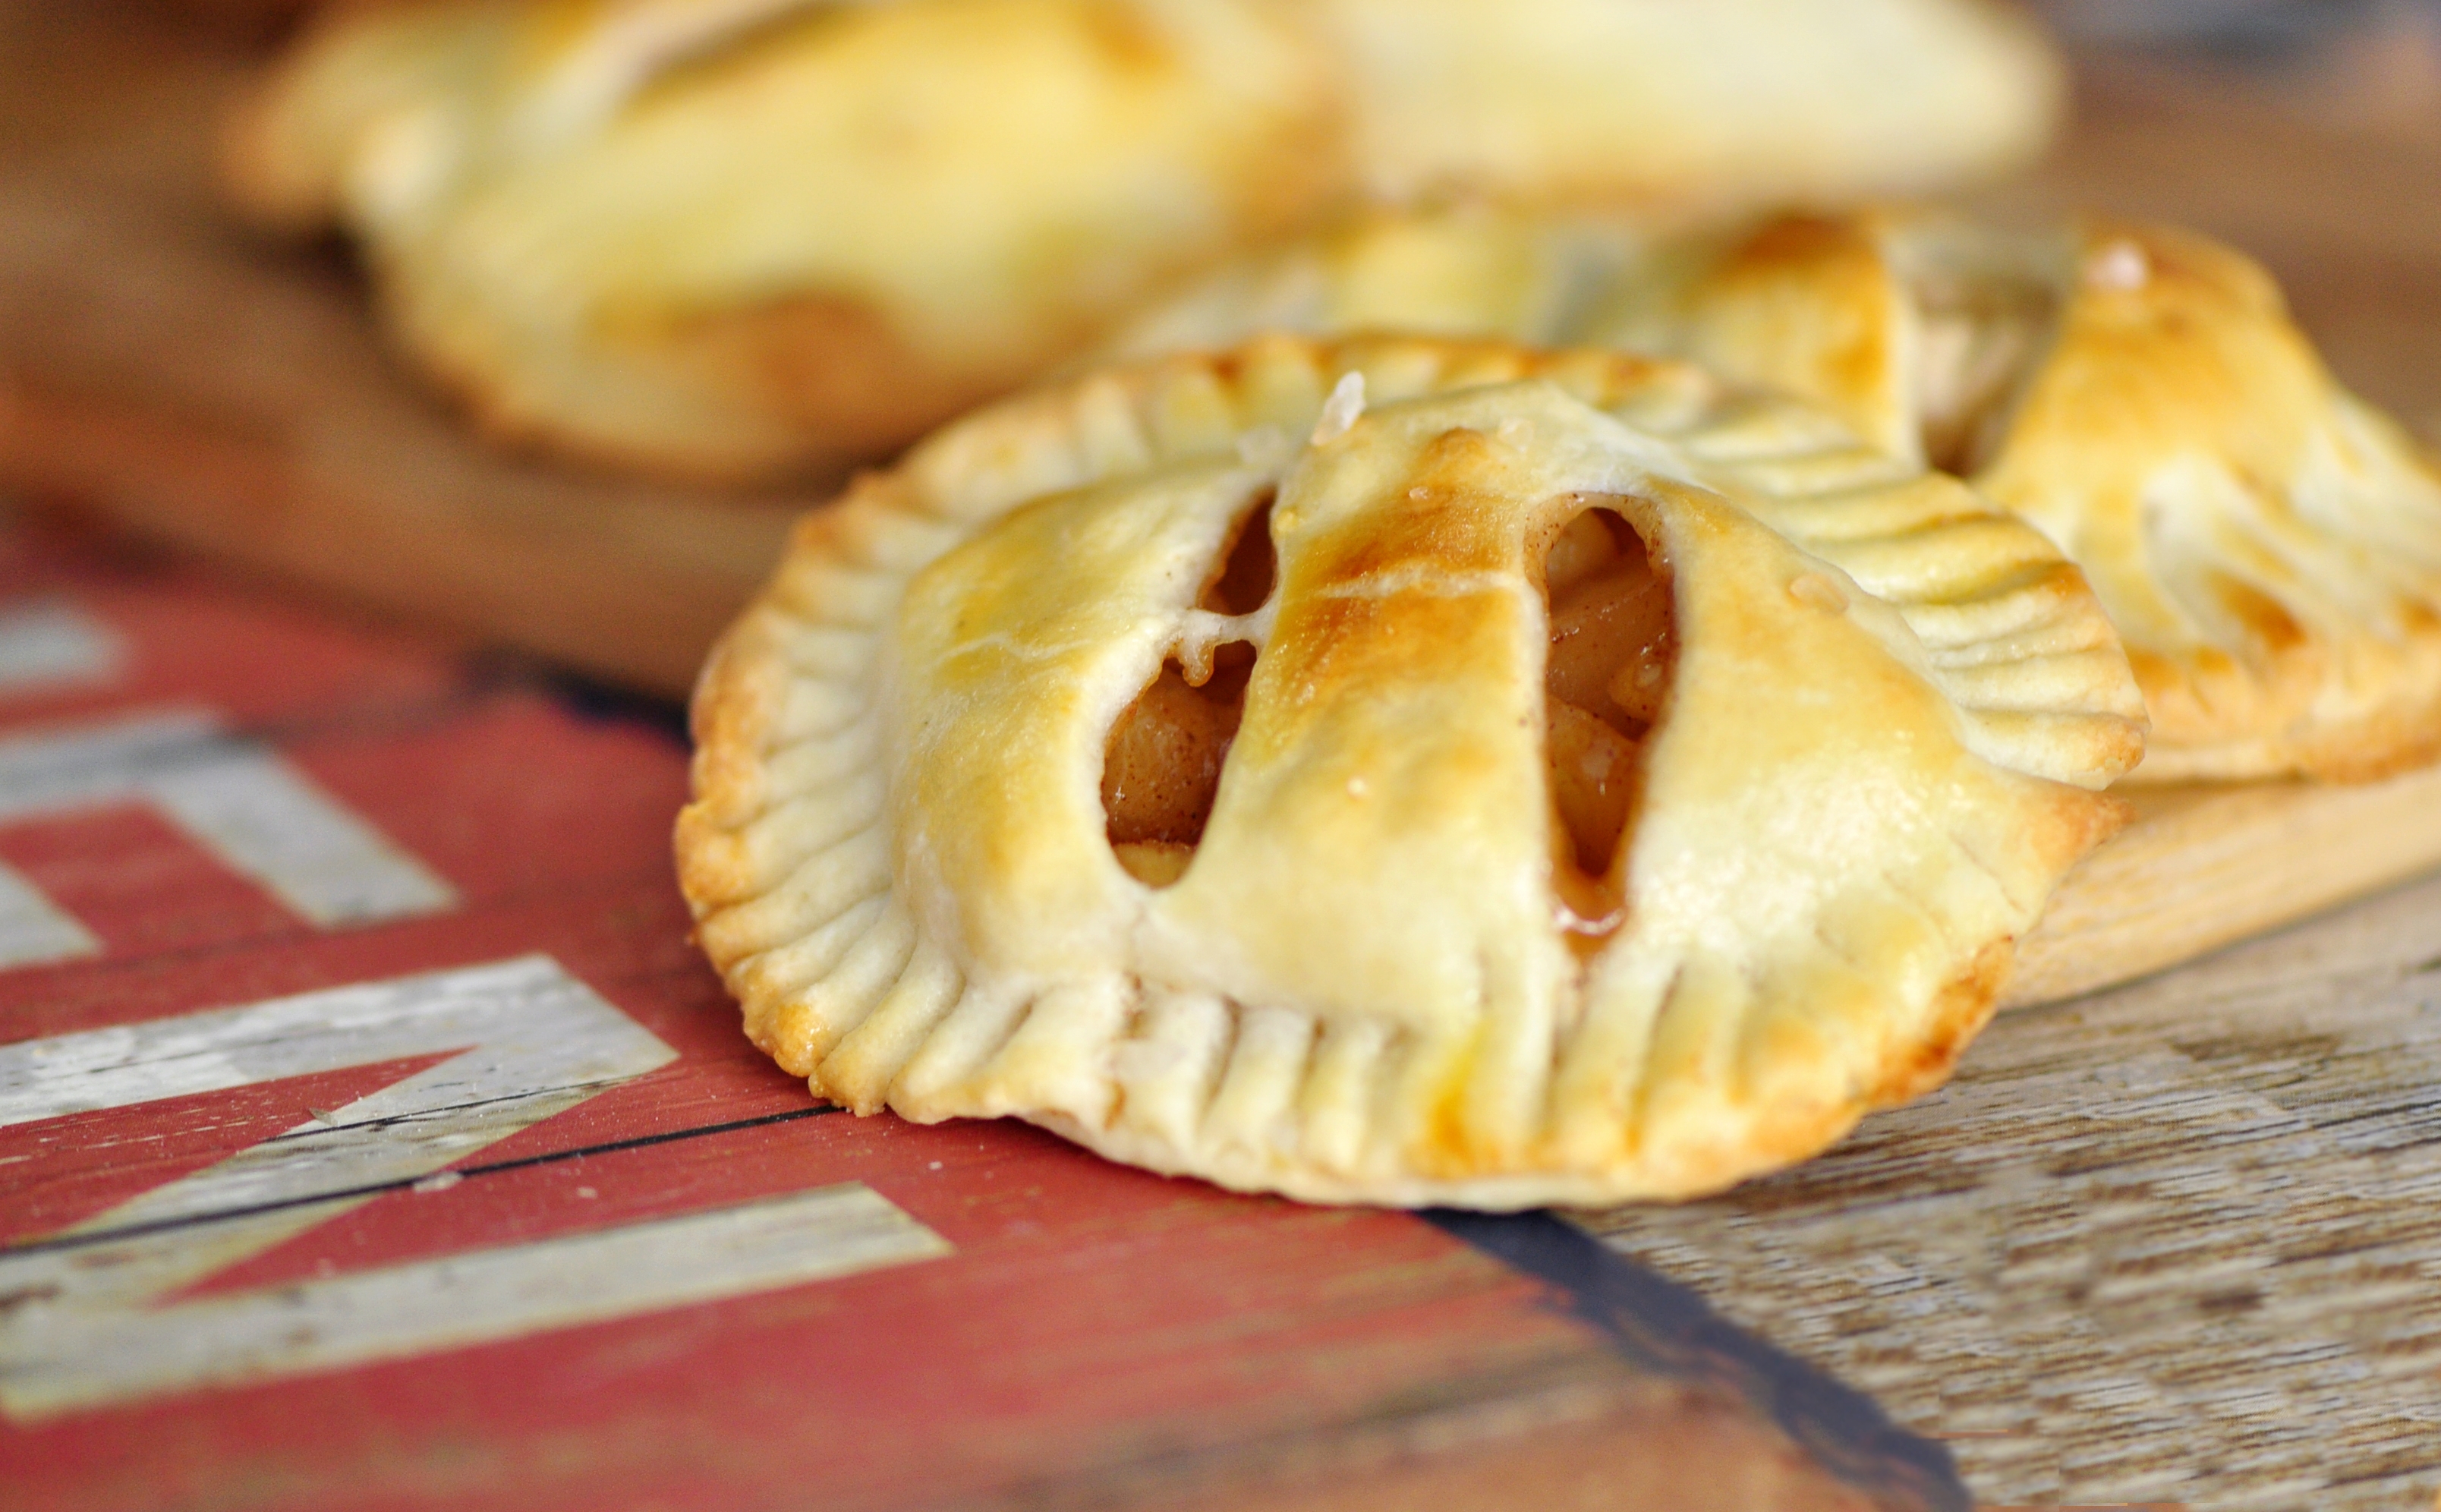
Place 6 circles on a baking sheet with a silicon baking mat or parchment-lined baking sheet, and spoon in a small portion of the apple filling. Be careful not to overfill because the dough could rip in the process. Place a second dough circle on top of the filled circles, then crimp the edges using a fork to seal the exterior.
Using a pastry brush, lightly coat the top of each pie with the egg wash. Cut 3 slits in the top of each pie with a sharp knife, then sprinkle a small pinch of sea salt on top of each one. Bake pies for 12-15 minutes, or until golden brown. Allow to cool on the baking sheet or on a wire cooling rack for 5 minutes.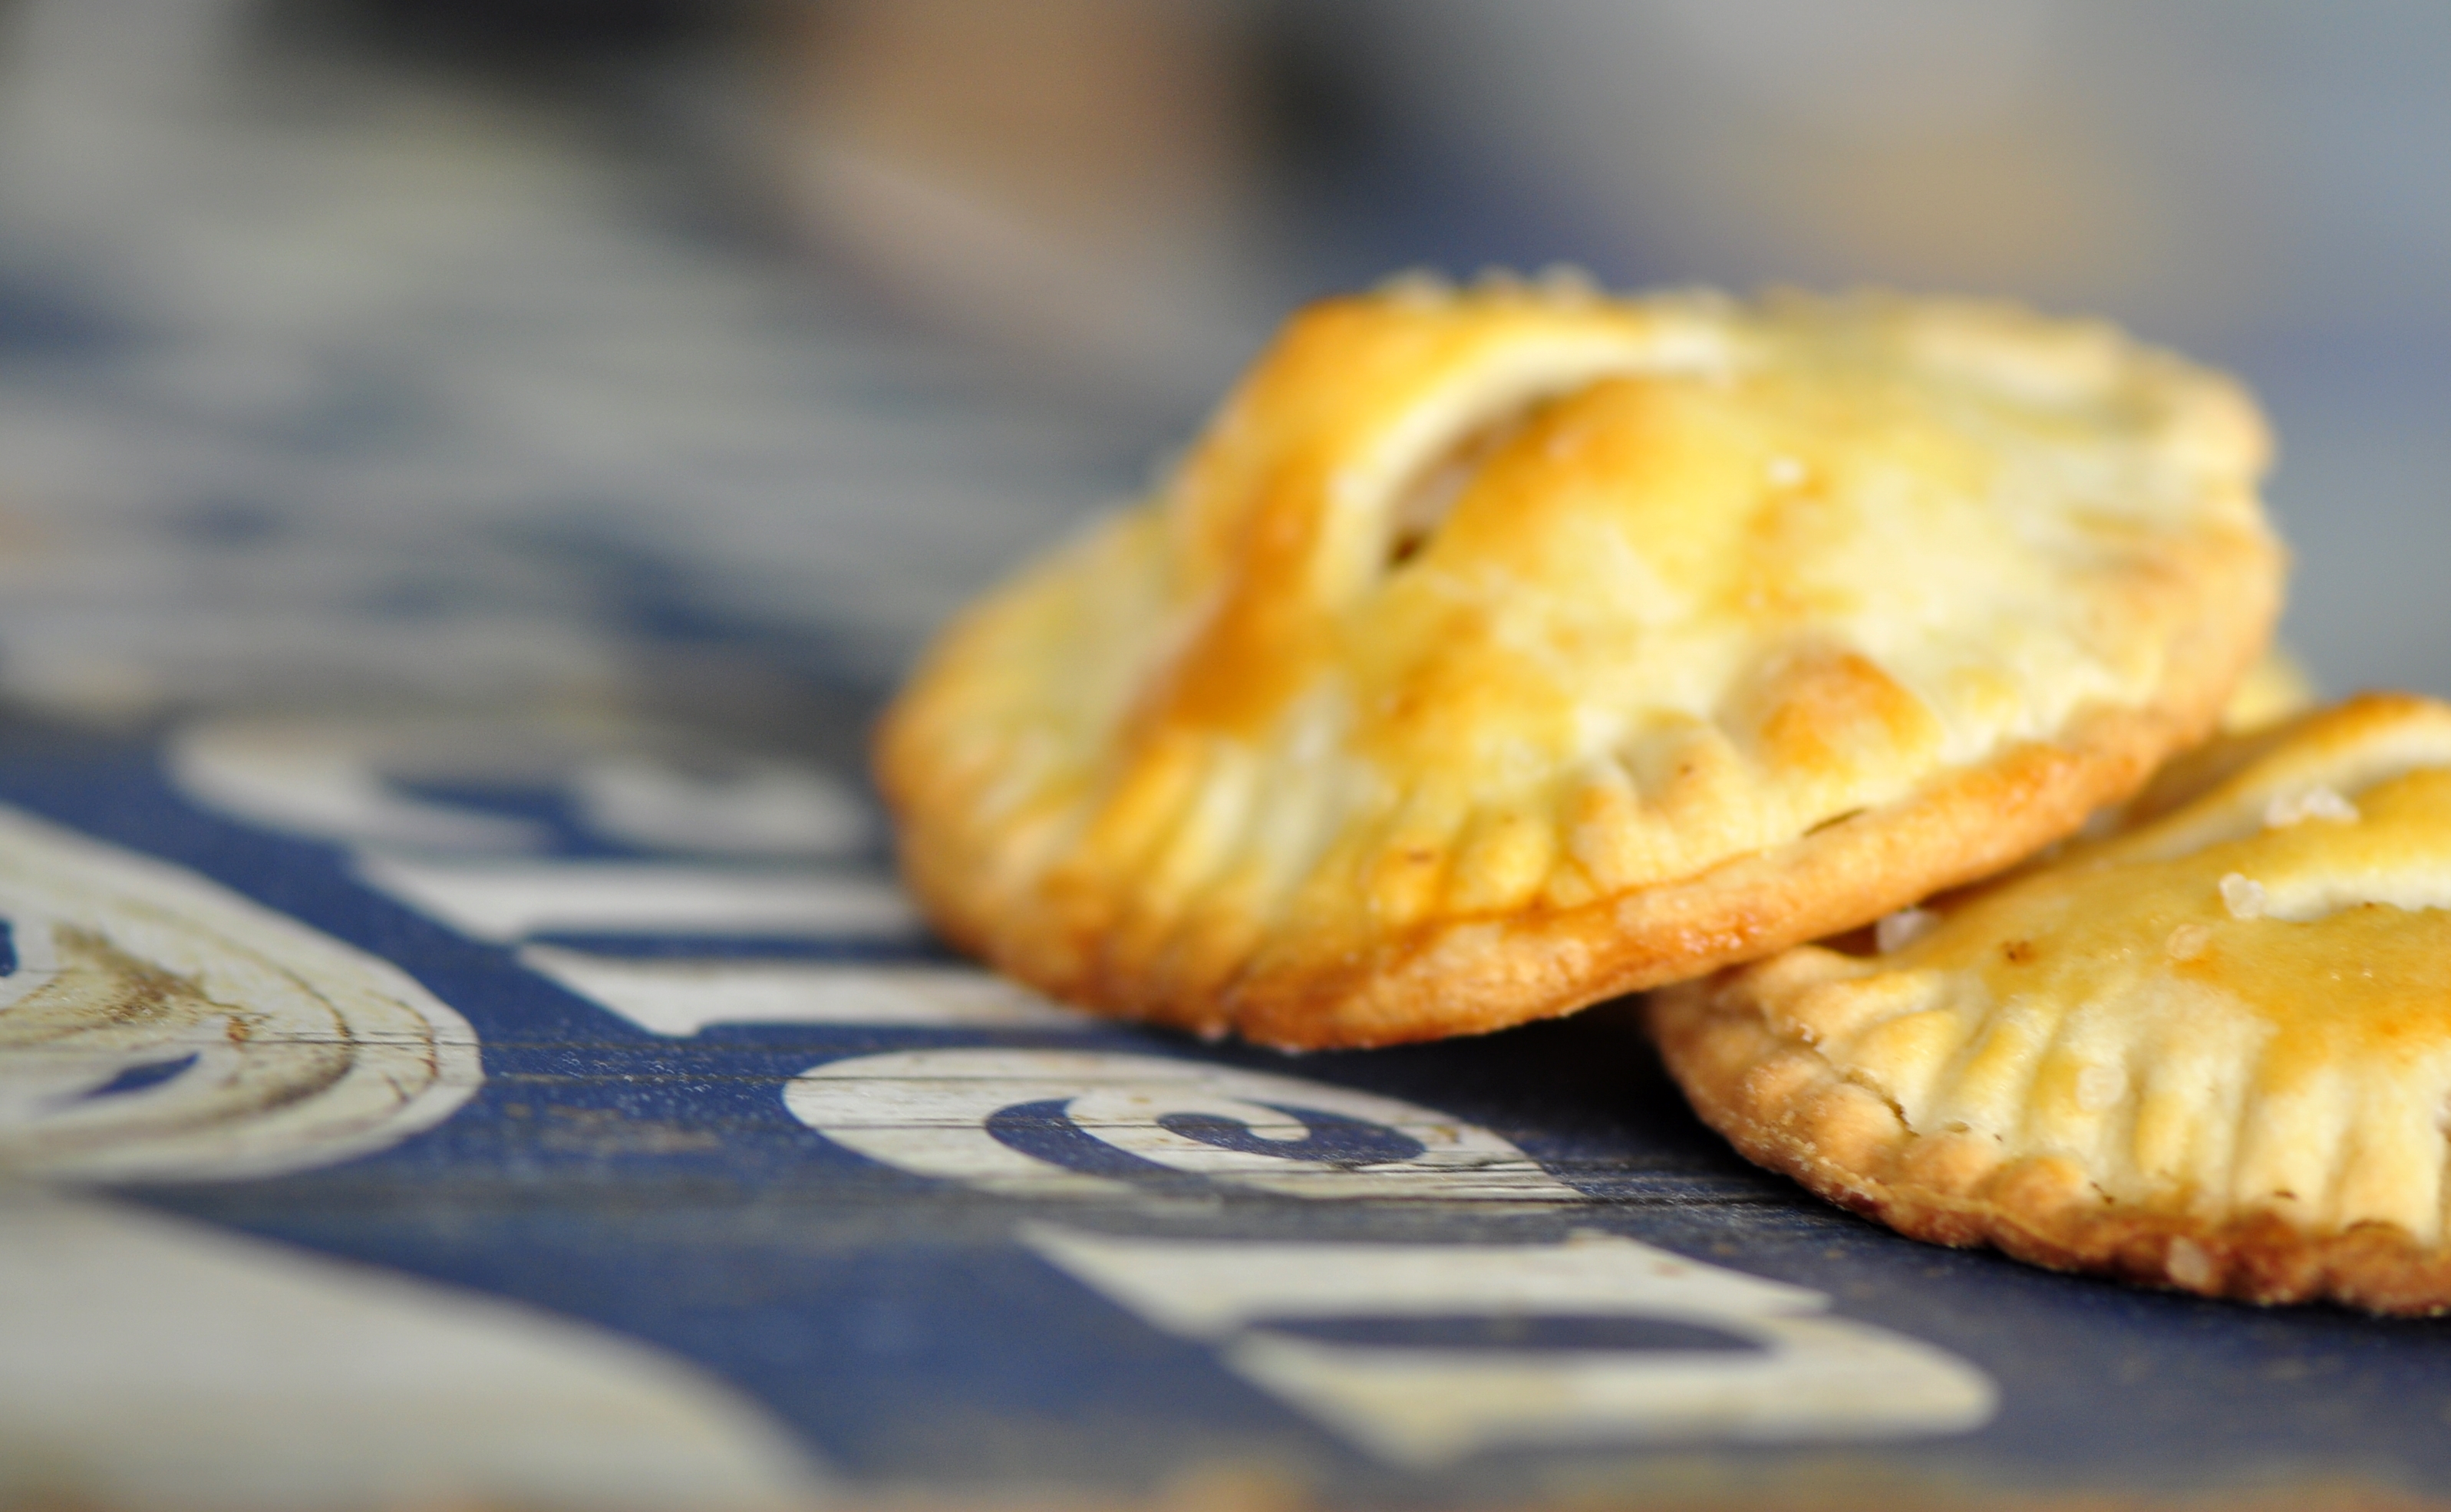
For the caramel sauce:
Add sugar to a medium-sized saucepan on low heat. Stir frequently with a rubber spatula to prevent burning. After 2-3 minutes, you should notice that the sugar will begin to clump together and melt. Once all the sugar is melted down to a golden-liquid, add in butter cubes and stir with spatula until all the butter has melted and it is well mixed with the melted sugar. Next, add in the cold whipping cream—the temperature difference will make the sauce sputter a bit, don’t be alarmed! Allow to boil for 60 seconds or so, then remove from heat and stir in the salt. Drizzle over the cooling pies and you’re ready to eat!**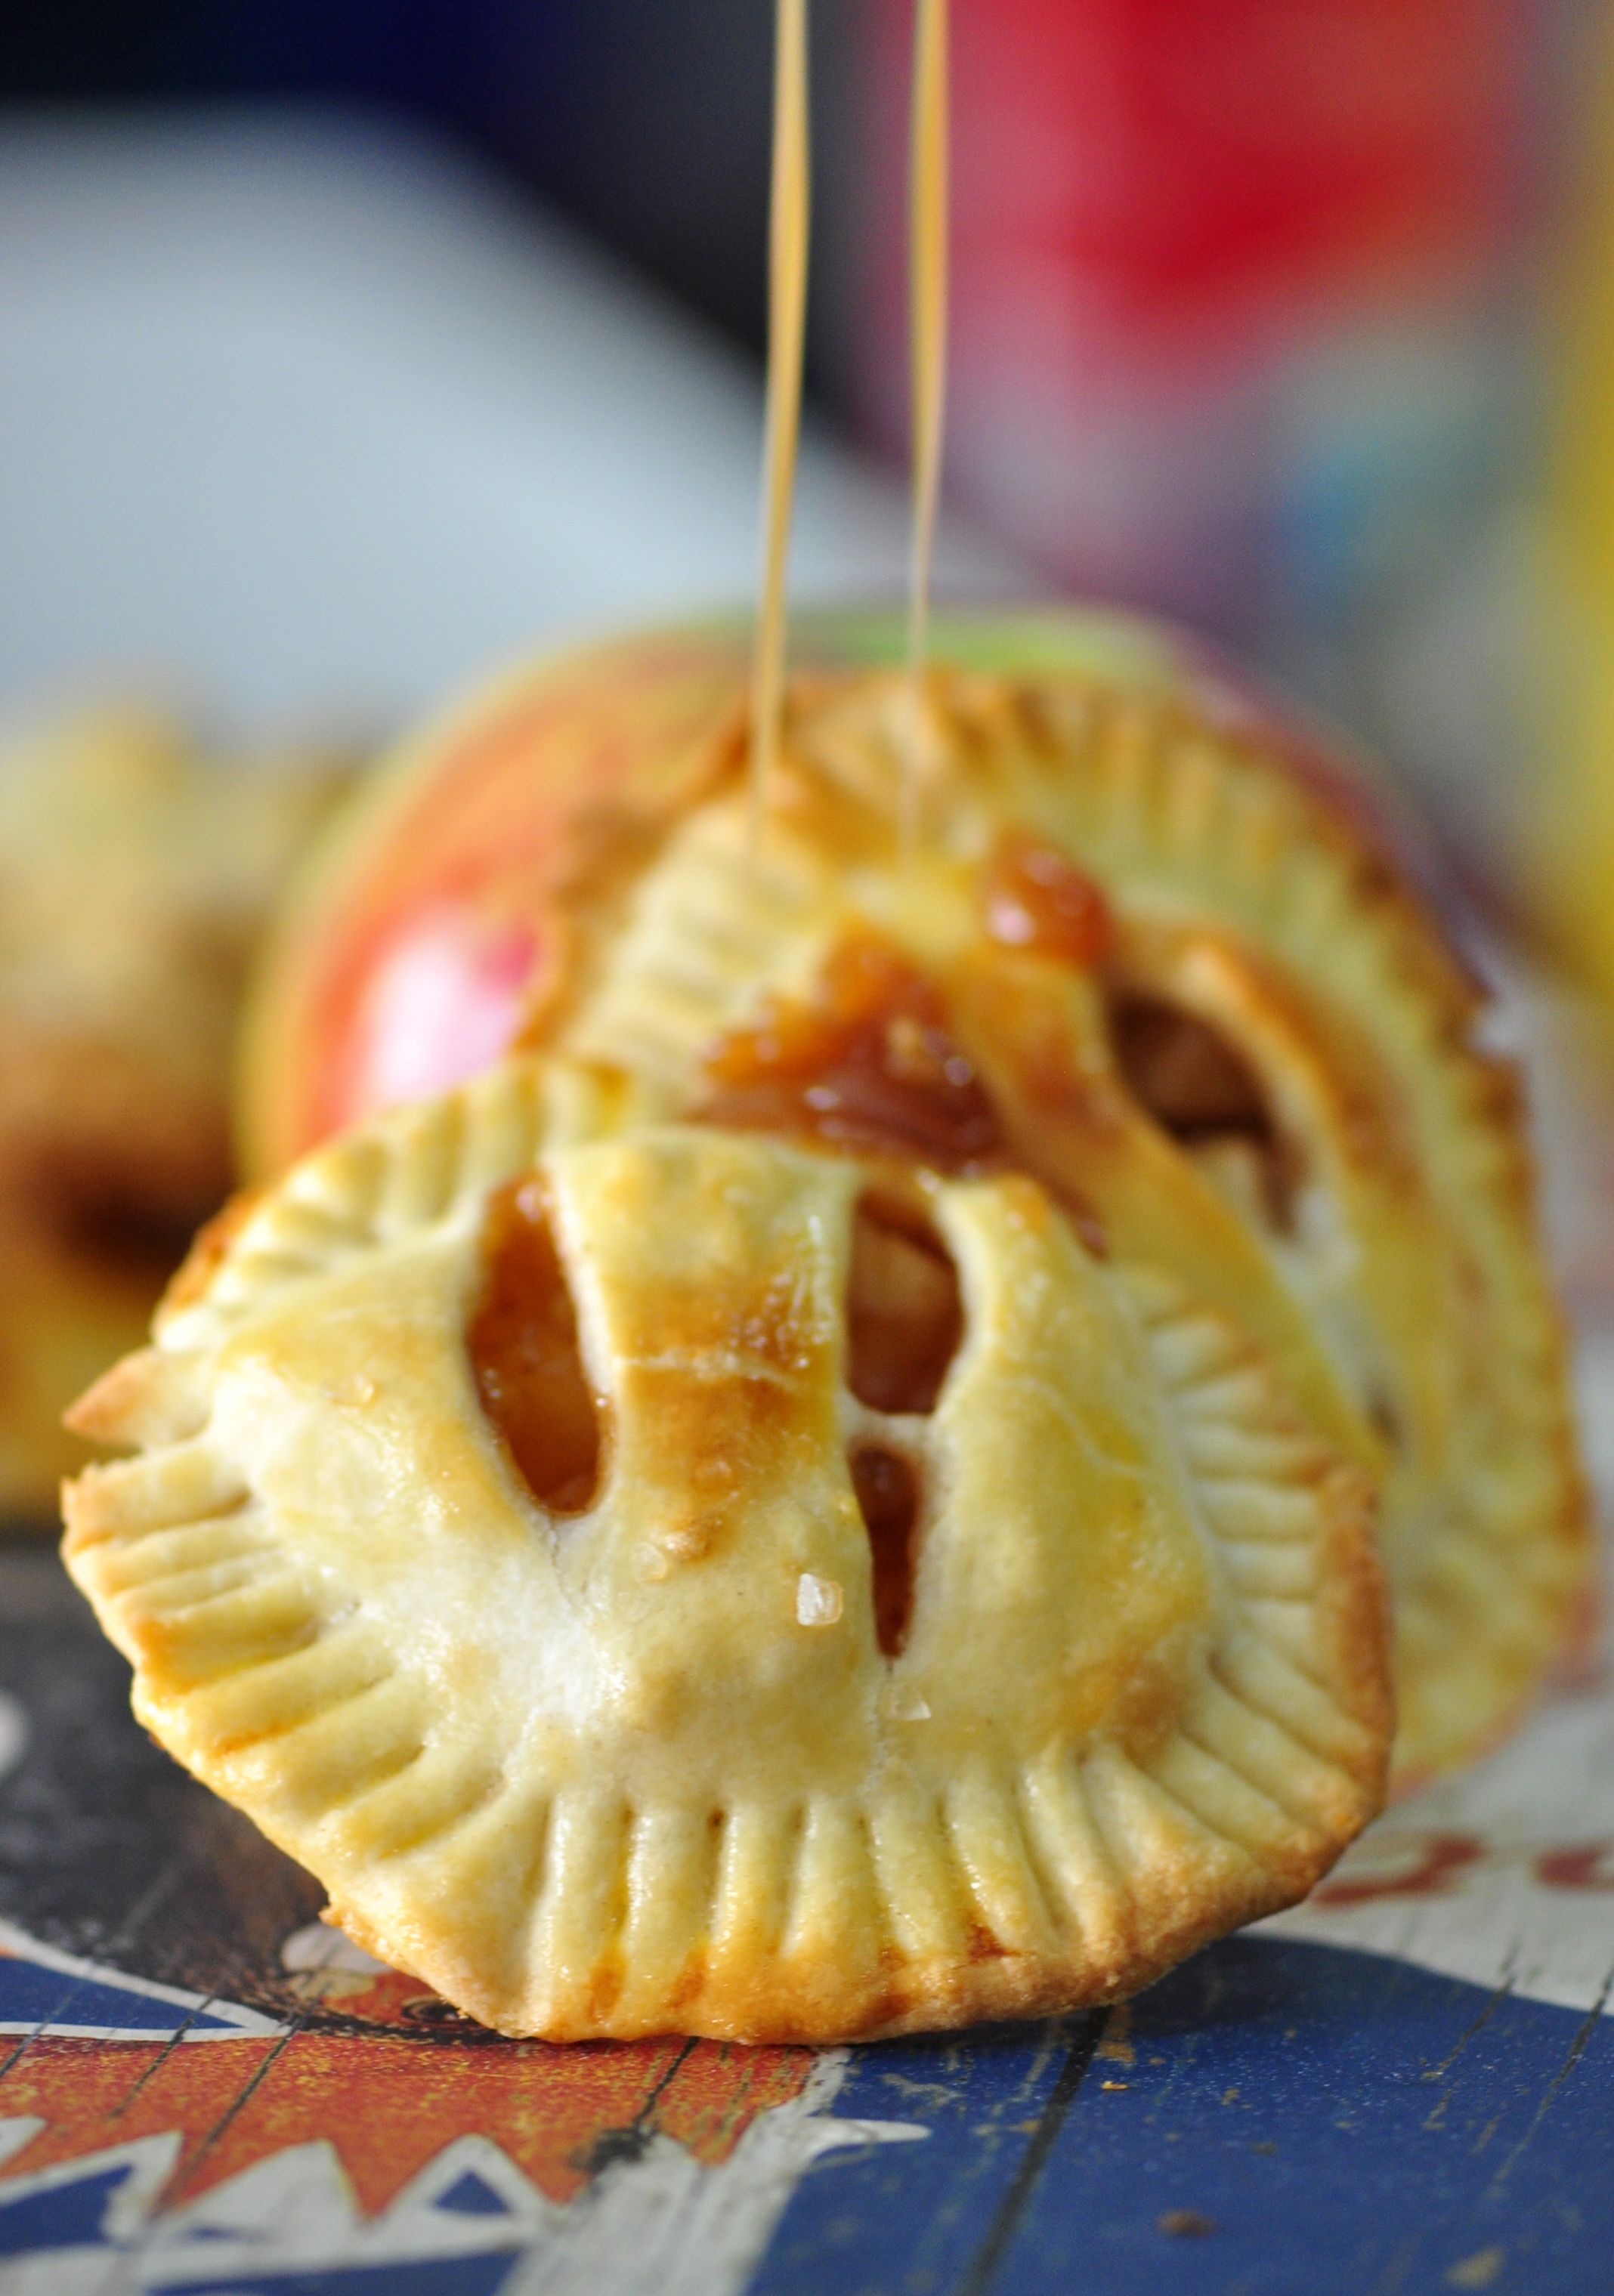
**If you plan on serving the pies later, store them in an airtight container for 3-4 days. You can re-heat the caramel sauce and drizzle it on top of them before serving.

These look delicious!
What a great idea!!! Can’t wait to try!
They look lovely! I’ve yet to successfully make my own pastry. I usually go for store bought. Good on you for making your own. I like hand pies for picnics but also great hot with a scoop of ice cream for dessert.
For the second round where I used the caramel, I decided to go all out and get ice cream too. So addictive!