Bread is an undertaking that requires patience. I failed a lot before I found a recipe and method that worked for me. I failed so much that I can make a list of all the times I failed so you can laugh at me:
- I dug my parents’ bread maker out of their basement and used it to make a seed loaf. The final product felt and tasted surprisingly similar to what I imagine bricks would taste like.
- Feeling inspired after reading As Always, Julia about Julia Child and Avis DeVoto’s written exchanges, I decided to make some kind of seed bread, and it didn’t rise. The internet tells me I put in too much salt in the mix (fun fact: salt and yeast aren’t buddies).
- I took a baguette class and was stoked about creating a bakery-quality loaf in class. Upon trying it at home, I made an “ok” tasting…bread thing? I don’t want to do real bread the disrespect of calling what I made bread. It also didn’t rise properly and looked shriveled and sad.
- A few more sad-ish attempts that are pretty similar to the above.
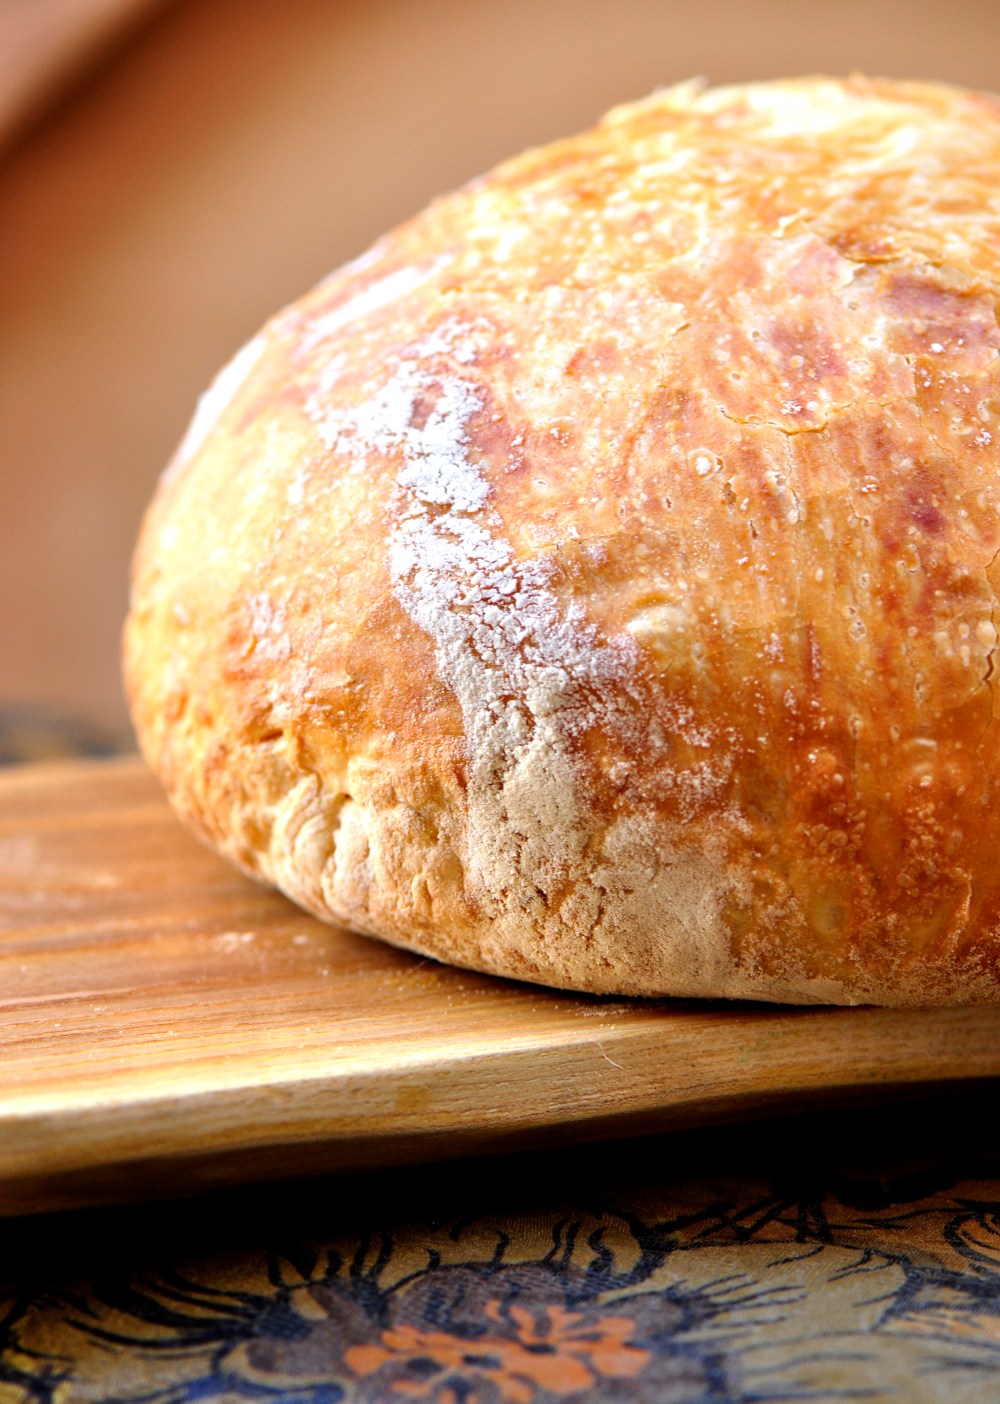
Finally, I used this exact recipe from The Comfort of Cooking, and it was perfect. No elaborate steps, to kneading, no videos — just shoving everything together in a bowl, waiting, and baking. I can do that.
After making this, I was so overly proud of myself that I texted my coworker whose boyfriend is supposed to be amazing at making fresh bread. Based on the photos, he graded it an A+. I silently gloated.
Now that I’ve found a method that works for me, I’ll be posting more & more bread, hopefully forming a series that can help others learn as well.

Ingredients
Makes 1 large loaf
3 cups all-purpose flour
2 tsp. fine grain kosher salt
½ tsp. active dry yeast (roughly ½ packet)
1 ½ cups lukewarm water (not cold water)
Method
In a large room temperature metal/glass bowl, stir together the flour, salt and yeast. Stir in water using a wooden spoon until the mixture forms a shaggy but cohesive dough. Do not over-work the dough. The less you “work” it, the more soft, fluffy air pockets will form.
Cover bowl tightly with plastic wrap and place in a warm area (away from windows and vents). Let dough sit at room temperature for 8-24 hours. Dough will bubble up and rise. I let mine sit for 20 hours and it was perfect.
After dough is ready, preheat oven to 450 degrees F. Place your Dutch oven, uncovered, into the preheated oven for 30 minutes.
While your Dutch oven preheats, turn dough onto a well-floured, dry surface. With heavily floured hands, form the dough into a ball. Cover dough loosely with plastic wrap and let rest — resist the temptation to poke at it during this time. I know it’s hard.
After the 30 minutes are up, carefully remove the Dutch oven. Very lightly flour the bottom of the Dutch oven; with floured hands, place the bread dough into it, moving the dough around as little as possible.
Place the cover on the Dutch oven and bake for 30 minutes, covered. Carefully remove cover with oven mitts and bake for 7-15 minutes more, uncovered. Keep a close eye on your loaf during these minutes; not all ovens are the same, and you want a nice golden crust.
Carefully remove bread, transfer to a cutting board, and slice with a bread knife. There should be some nice air pockets (see photos). Serve immediately with fresh butter/jam/nut butter, or store in a paper bag sealed with an elastic band for a day or two.


Thanks for delicious, as usual, blog post! Now that we’re back in Toronto, we’ll try to make baguette using your post! X Christian and Julie
This looks fabulous Veronica.
On 4 March 2017 at 16:44, the vegetarian ginger wrote:
> Veronica Sheppard posted: “Bread is an undertaking that requires patience. > I failed a lot before I found a recipe and method that worked for me. I > failed so much that I can make a list of all the times I failed so you can > laugh at me: I dug my parents’ bread maker out of their ba” >