I’m a big fan of sushi. Each year I always try to make really creative cupcakes for my boyfriend’s birthday (I baked them into ice cream cones, decorated Mario Bros themed ones) but I think this one (I’m so sorry for this pun) takes the cake (I’m sorry).
These were probably some of the most difficult but rewarding cupcakes I’ve ever made. I made them a long time ago, I’m not sure why I never created a post for them but here it is. Apologies in advance for the lack of step-to-step photos—I’m hoping that the methodology is detailed enough that it all makes sense.
I got this recipe from a French blog entitled La Casserole Carrée and if you’re not French-speaking, the translation may be a little hard to follow. Since I grew up learning French I had an easier time, but I must admit it’s pretty rusty.
For the butter cream, I used a makeshift double-boiler (as I always do). I used a large Pyrex bowl and a metal pot with just enough water in it to reach the bowl. You can’t skip this because your ingredients will burn. But don’t stress over this too much: you can use pre-packaged icing, and if you want you can use pre-packaged cake. It will still reap awesome results. 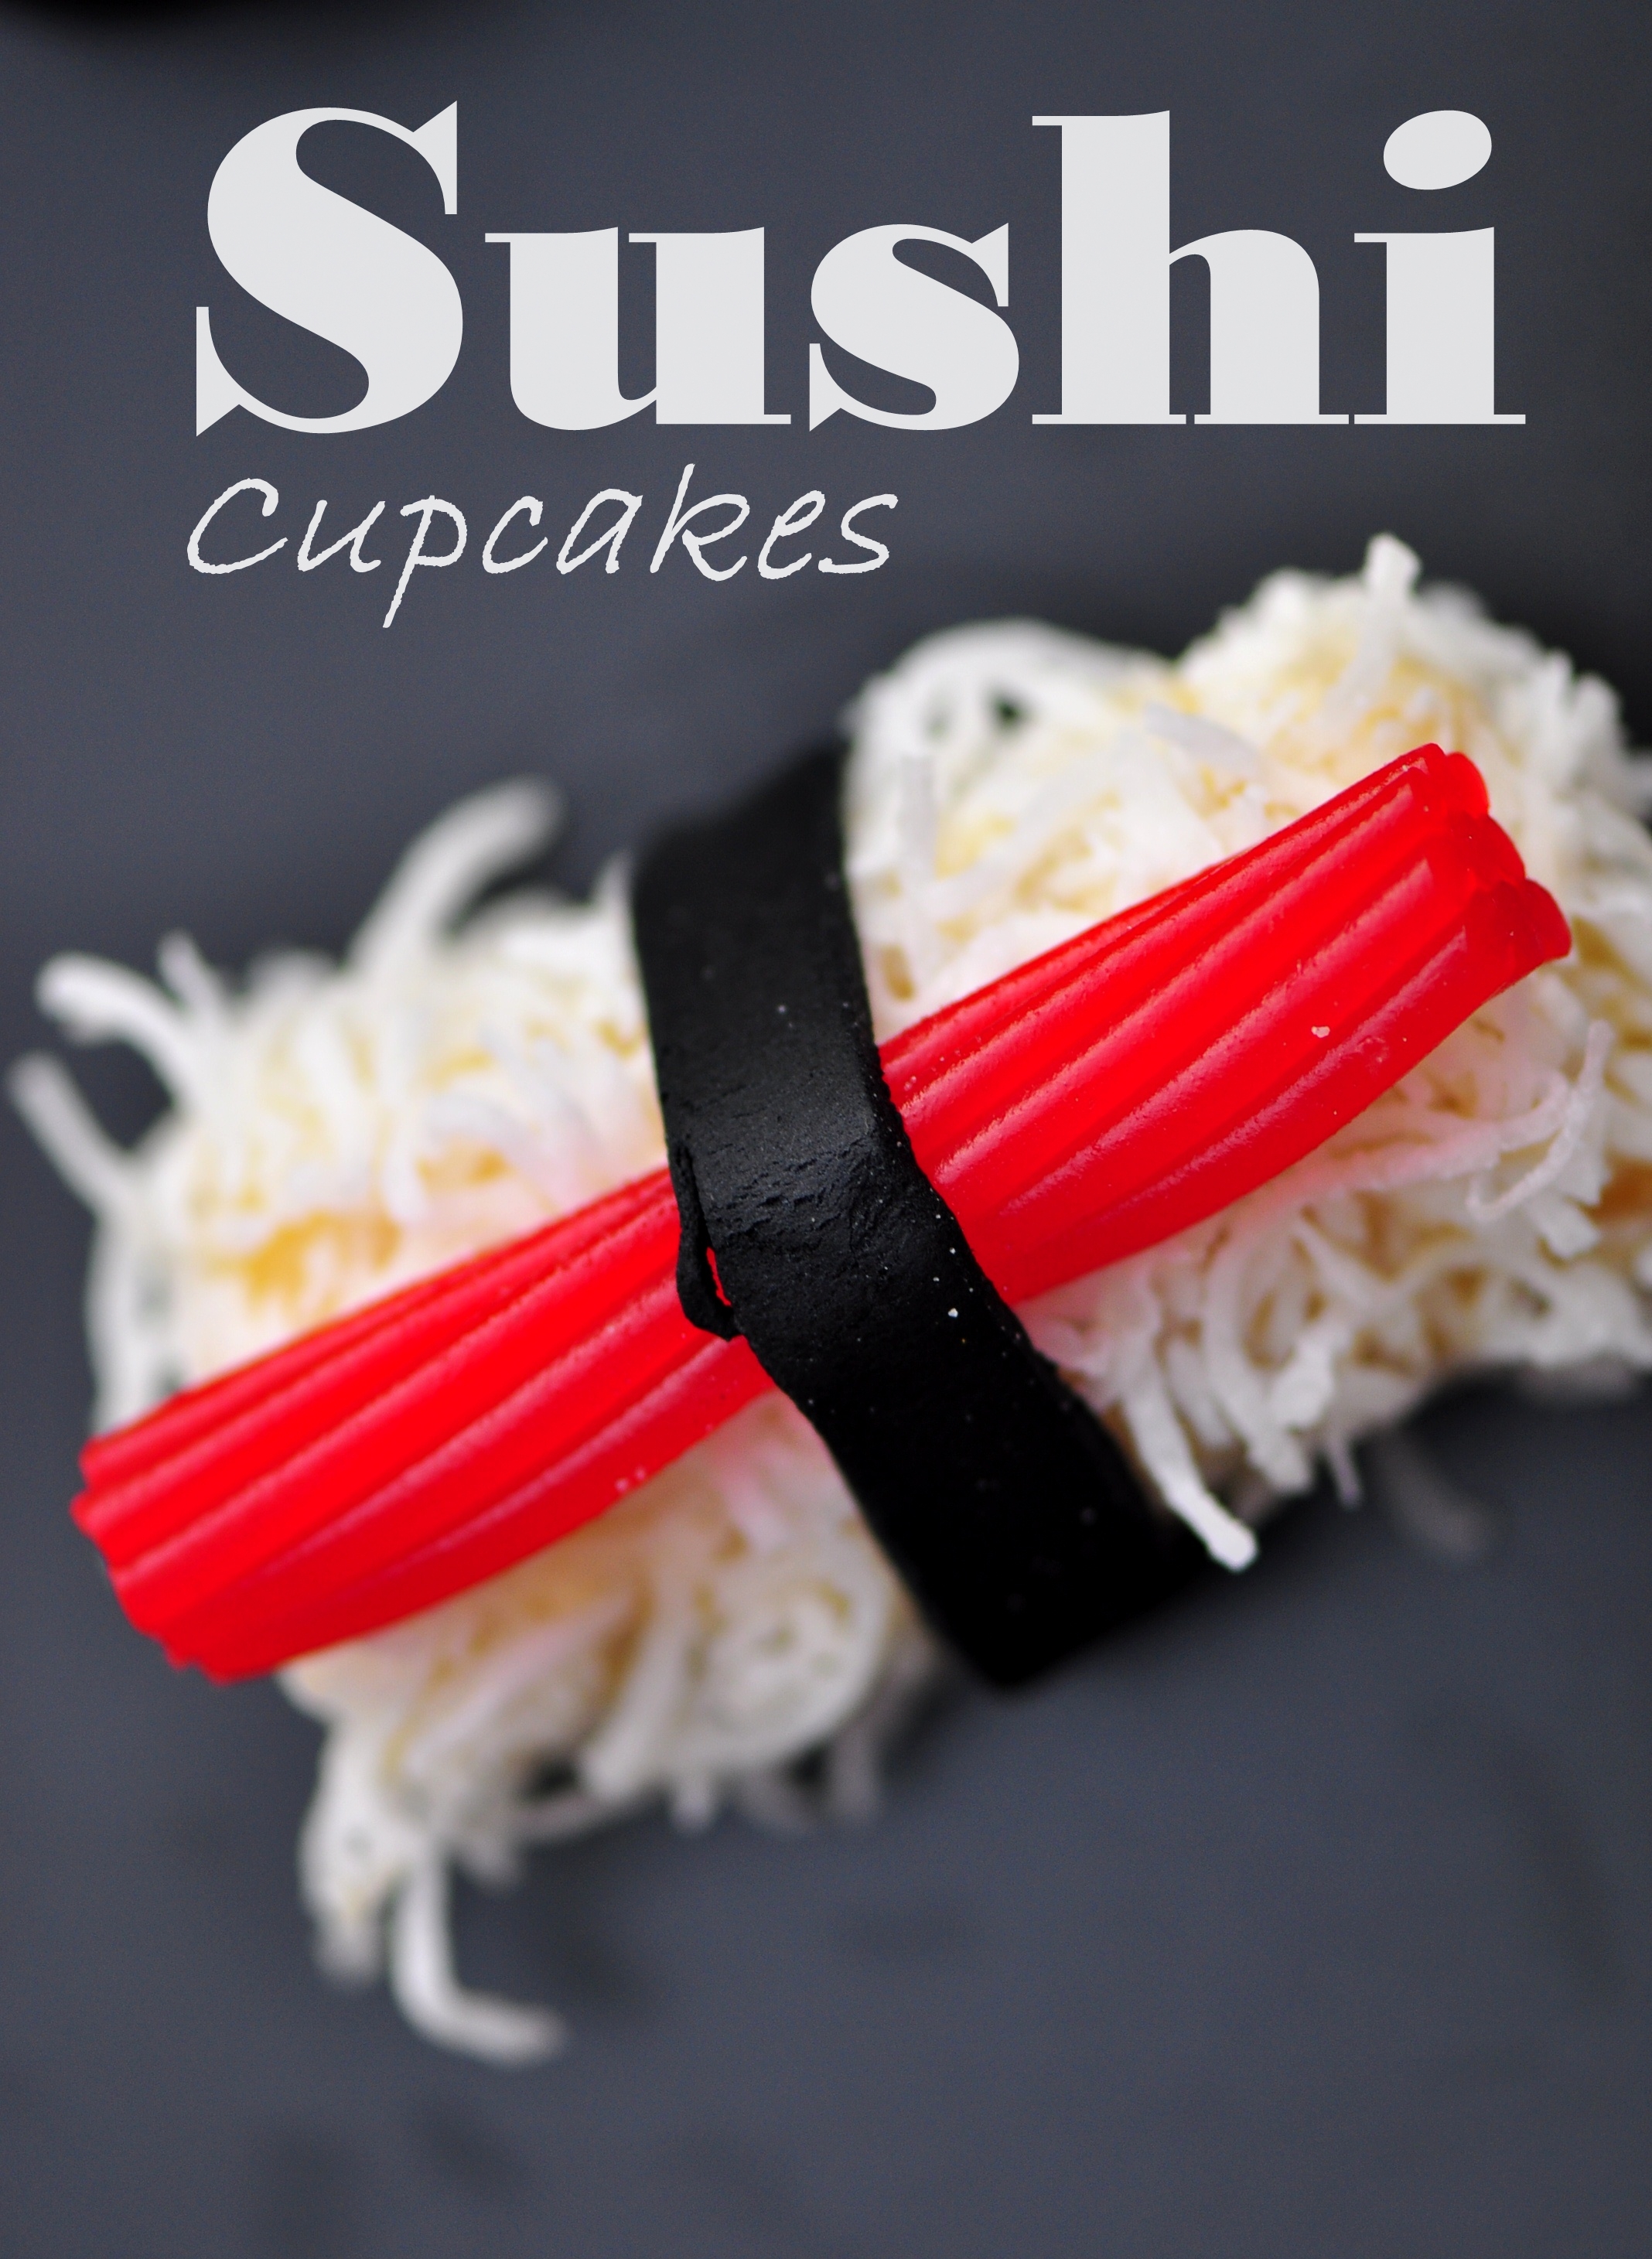
Ingredients
Makes 15-20 sushi cupcakes
Cake
- 1 cup all-purpose flour
- 1 tsp. baking powder
- Pinch of salt
- 1 cup butter, softened
- 3/4 cup granulated sugar
- 3 large eggs
- 1 tbsp. vanilla extract
Buttercream
- 1 egg
- 1/4 cup confectioner’s sugar
- 1/2 cup softened butter, cut into cubes
- 1 tbsp. vanilla extract
Decor
- 1 (500g) container of black fondant (choose a vegan brand if you do not eat gelatin)
- Sweetened white coconut, finely grated
- Vegetarian jelly beans in all fish-coloured flavours (red, orange, etc.)
- Licorice or Pull n’ Peel
- Other small assorted candies of your choice
Method
For the cake:
Preheat the oven to 325 degrees F.
Combine flour, baking powder and salt in a bowl; set aside. In a separate large bowl, using an electric mixer, beat butter until creamy for about 30 seconds. Add the sugar to the butter and beat again until light and airy, about 5 minutes. Add vanilla extract and eggs one at a time, beating 1 minute after each addition.
Add dry ingredients to wet ingredients and beat until they disappear into the dough (do not overmix). Pour the batter into an 8×8 square pan, previously lined with parchment paper or greased and lightly floured. Bake for 30-35 minutes or until a toothpick inserted into the centre of cake comes out clean.
Allow it to cool for ten minutes before removing it from the pan, then transfer to a wire cooling rack and wait 15 more minutes. Once completely cooled, using cookie cutters, a glass or a paring knife, cut the cake into different shapes: round, rectangle, square, etc. (If necessary, cut the shapes in half the thickness to obtain portions that resemble as much as possible to real sushi.)
For the butter cream:
In the top of a double boiler placed on a medium heat, using an electric mixer, beat the egg and sugar.
Remove the top of the double boiler and continue to beat until cooled; add the vanilla extract and beat until well combined. Still whisking constantly, add the butter cubes one at a time, until all the icing is smooth and creamy.
Frost the cake shapes on the sides and top, spreading a layer of butter cream about 1/4-inch thick. Refrigerate at least 30 minutes before decorating.
For the decor:
Roll the fondant on a dry, flat surface dusted with cornstarch; the fondant should be 1/8-inch thick and cut strips about 3/4-inch wide, which can be adjusted to each cake shape. You should be able to eyeball—as long as the fondant is rolled out thinly, you can improvise how wide it needs to be.
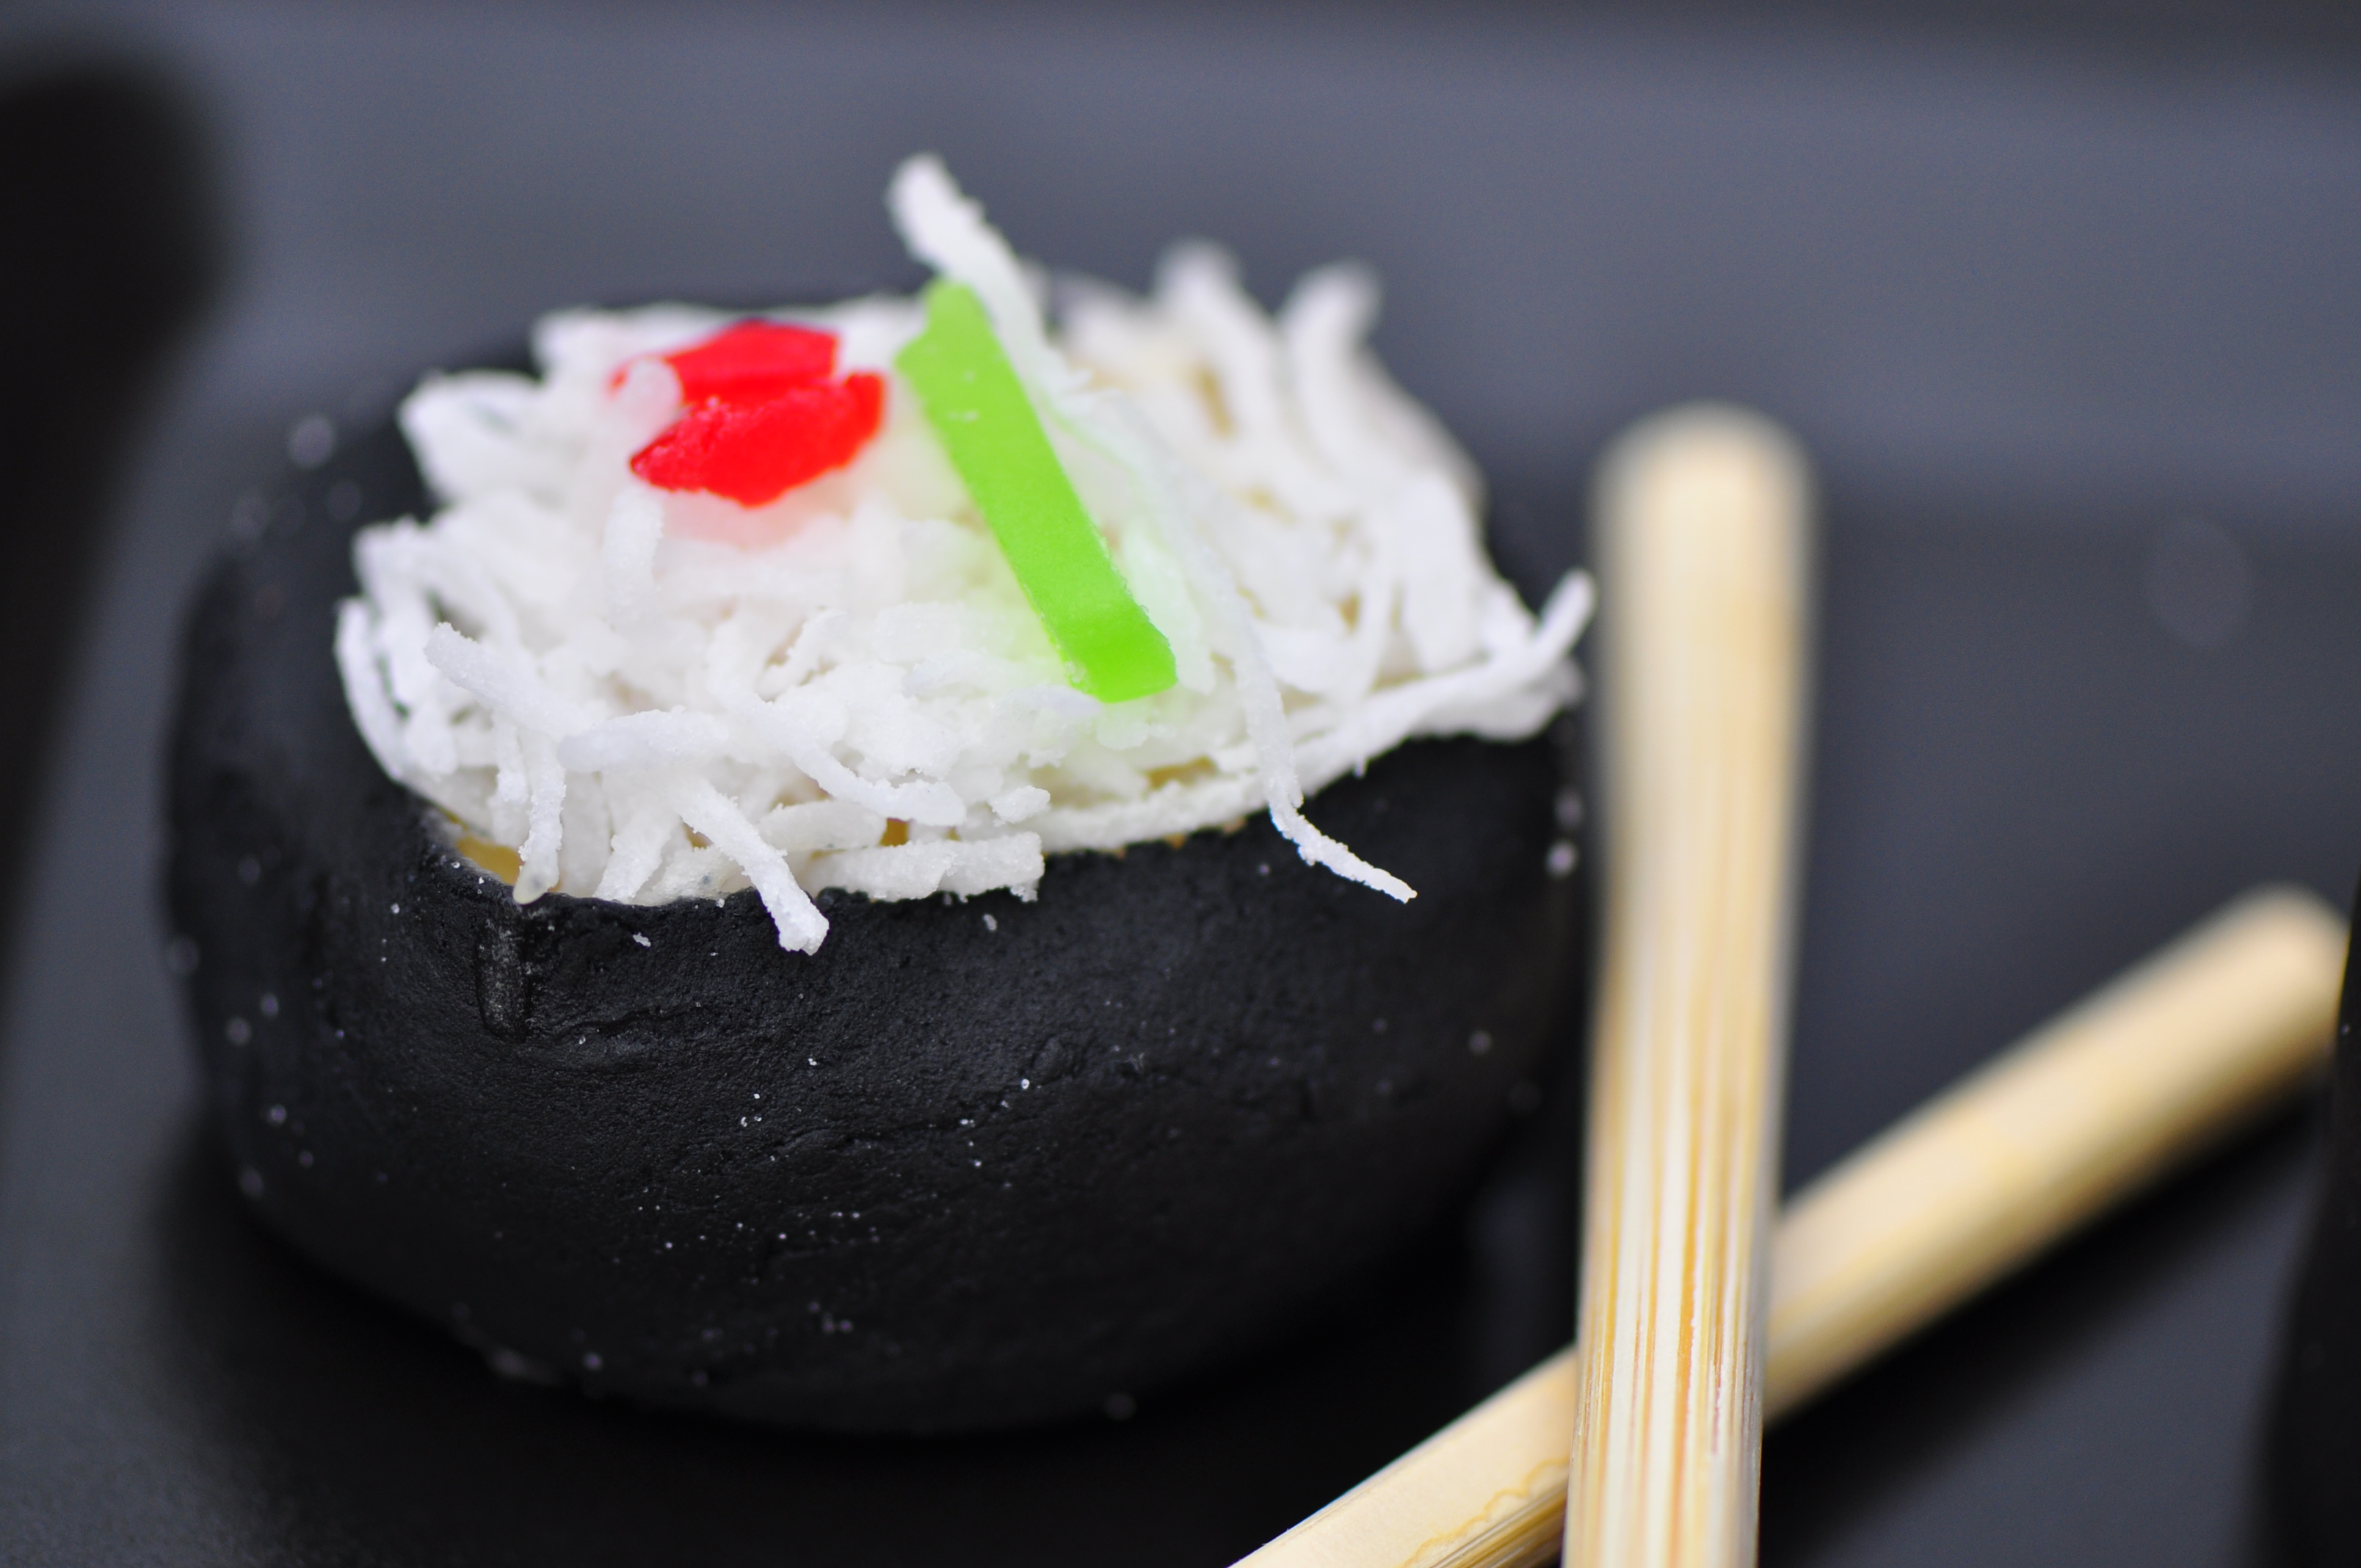
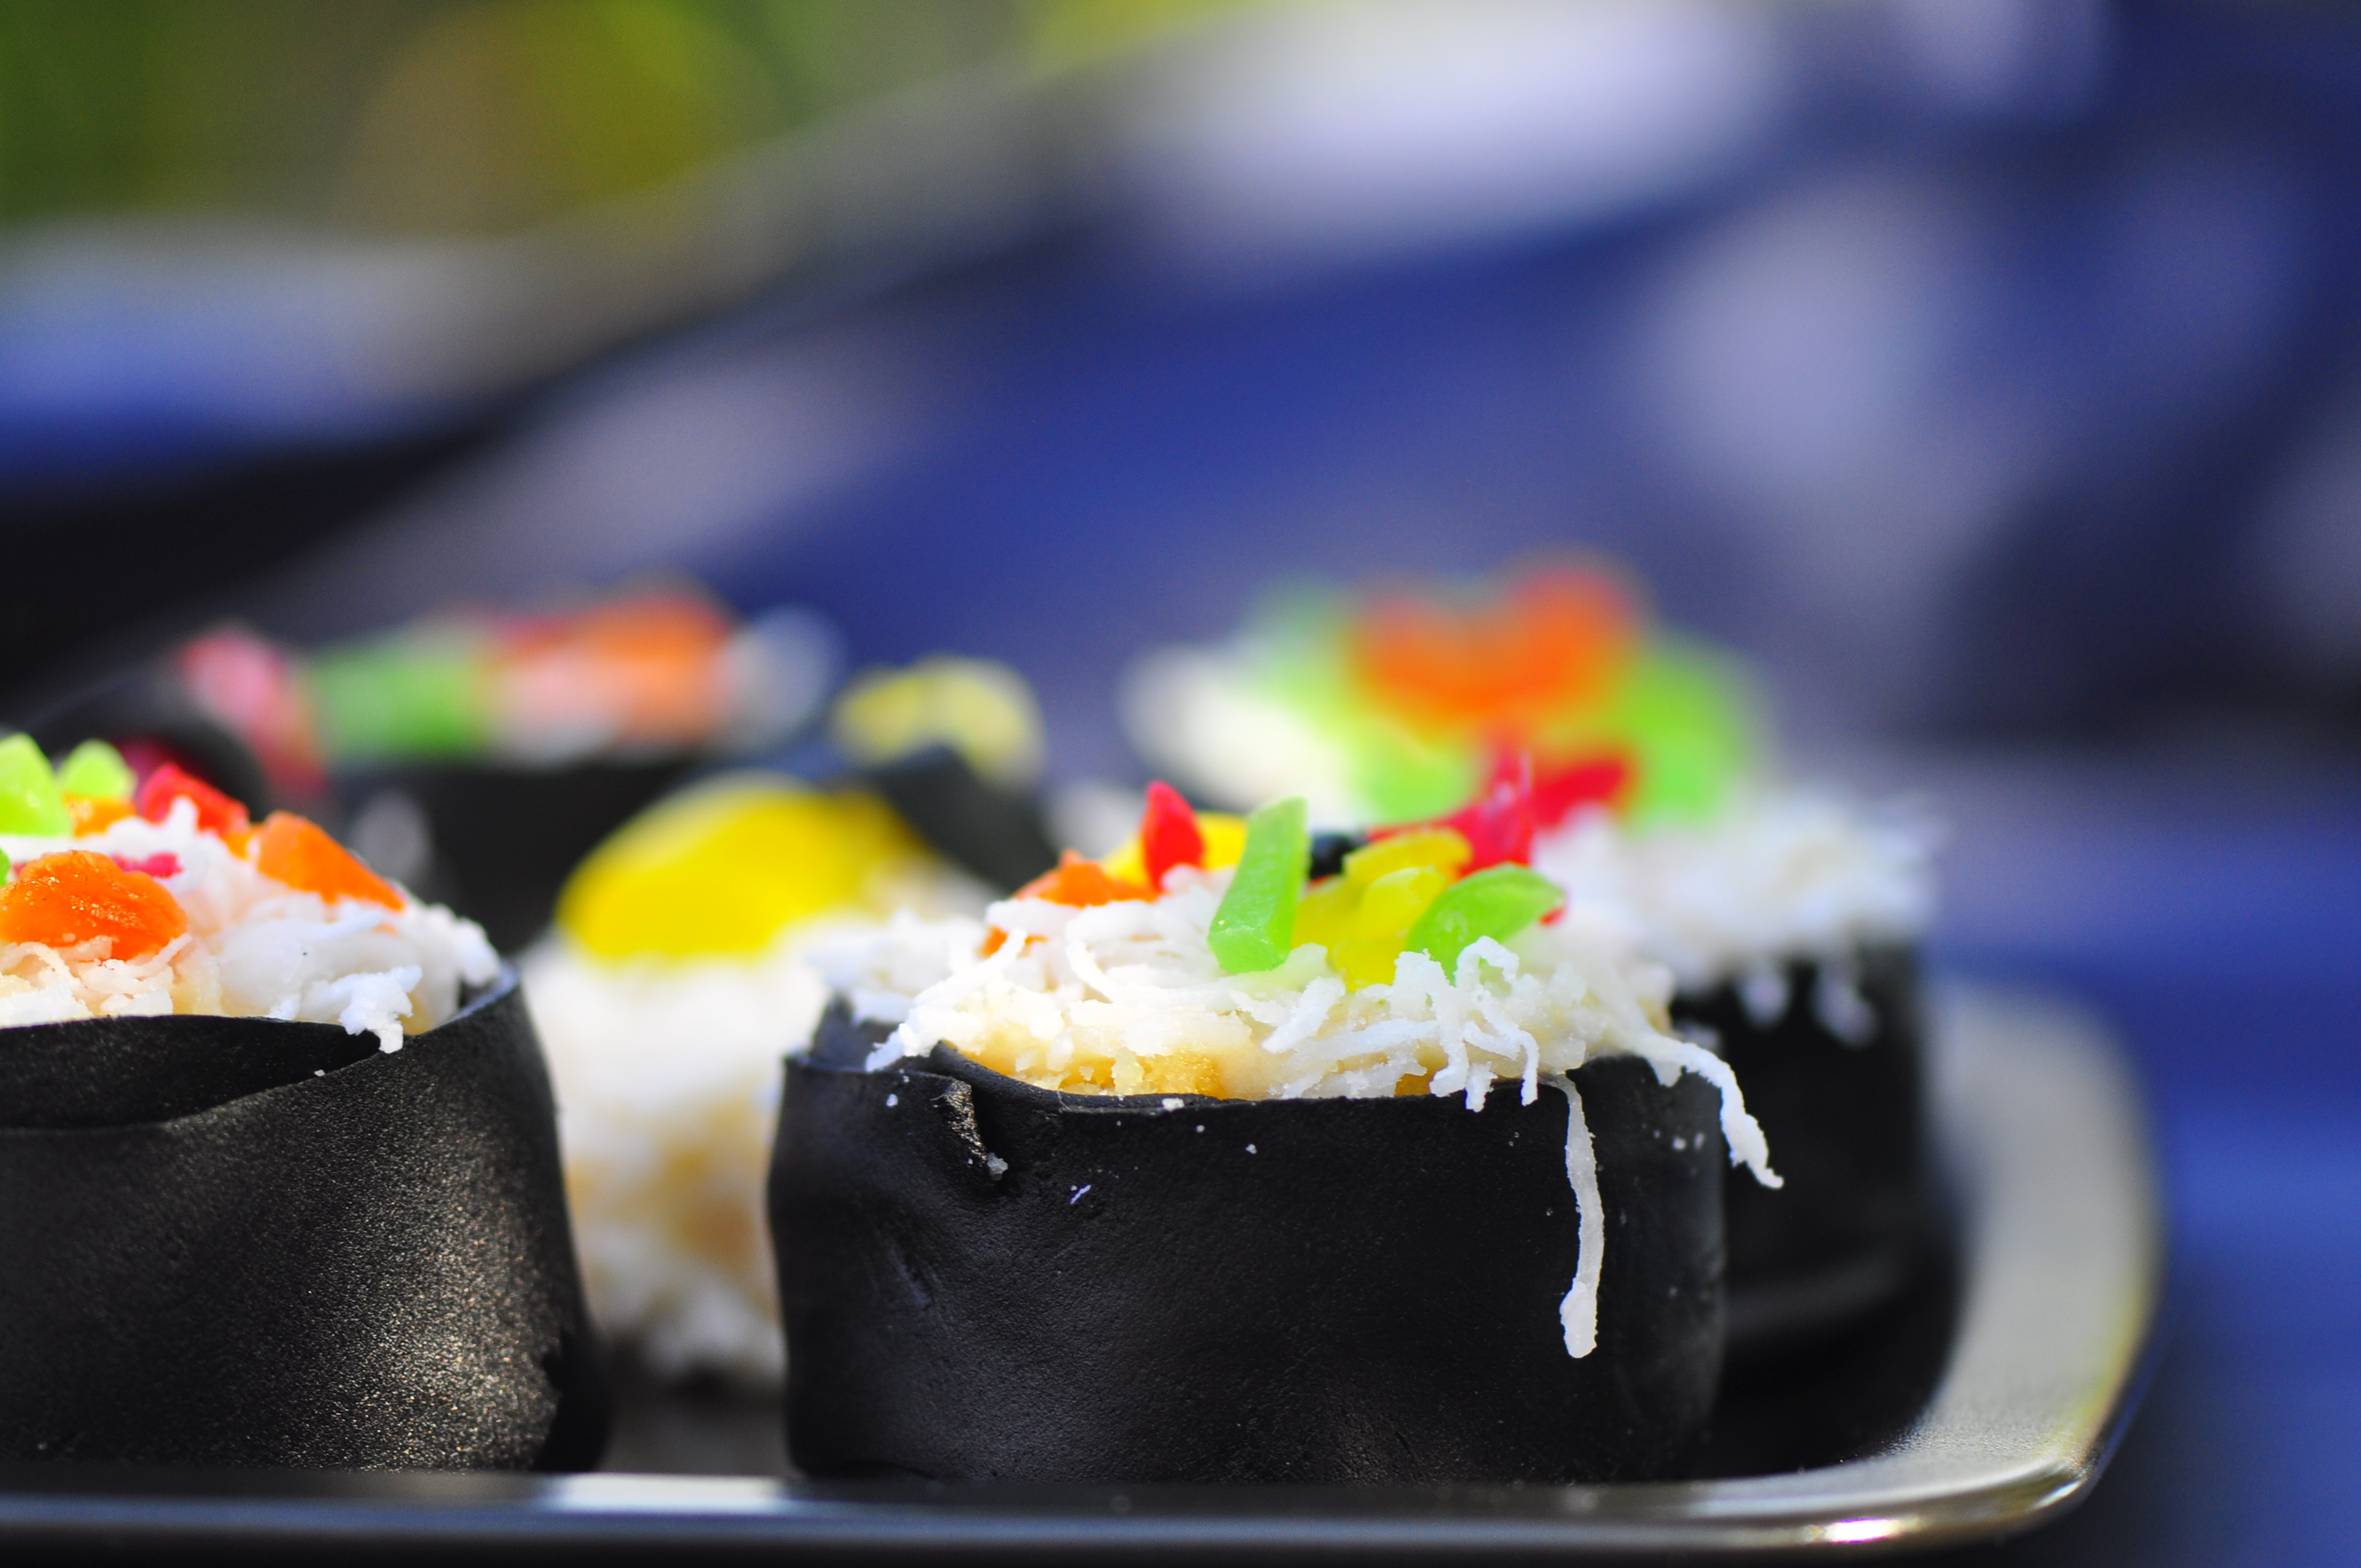
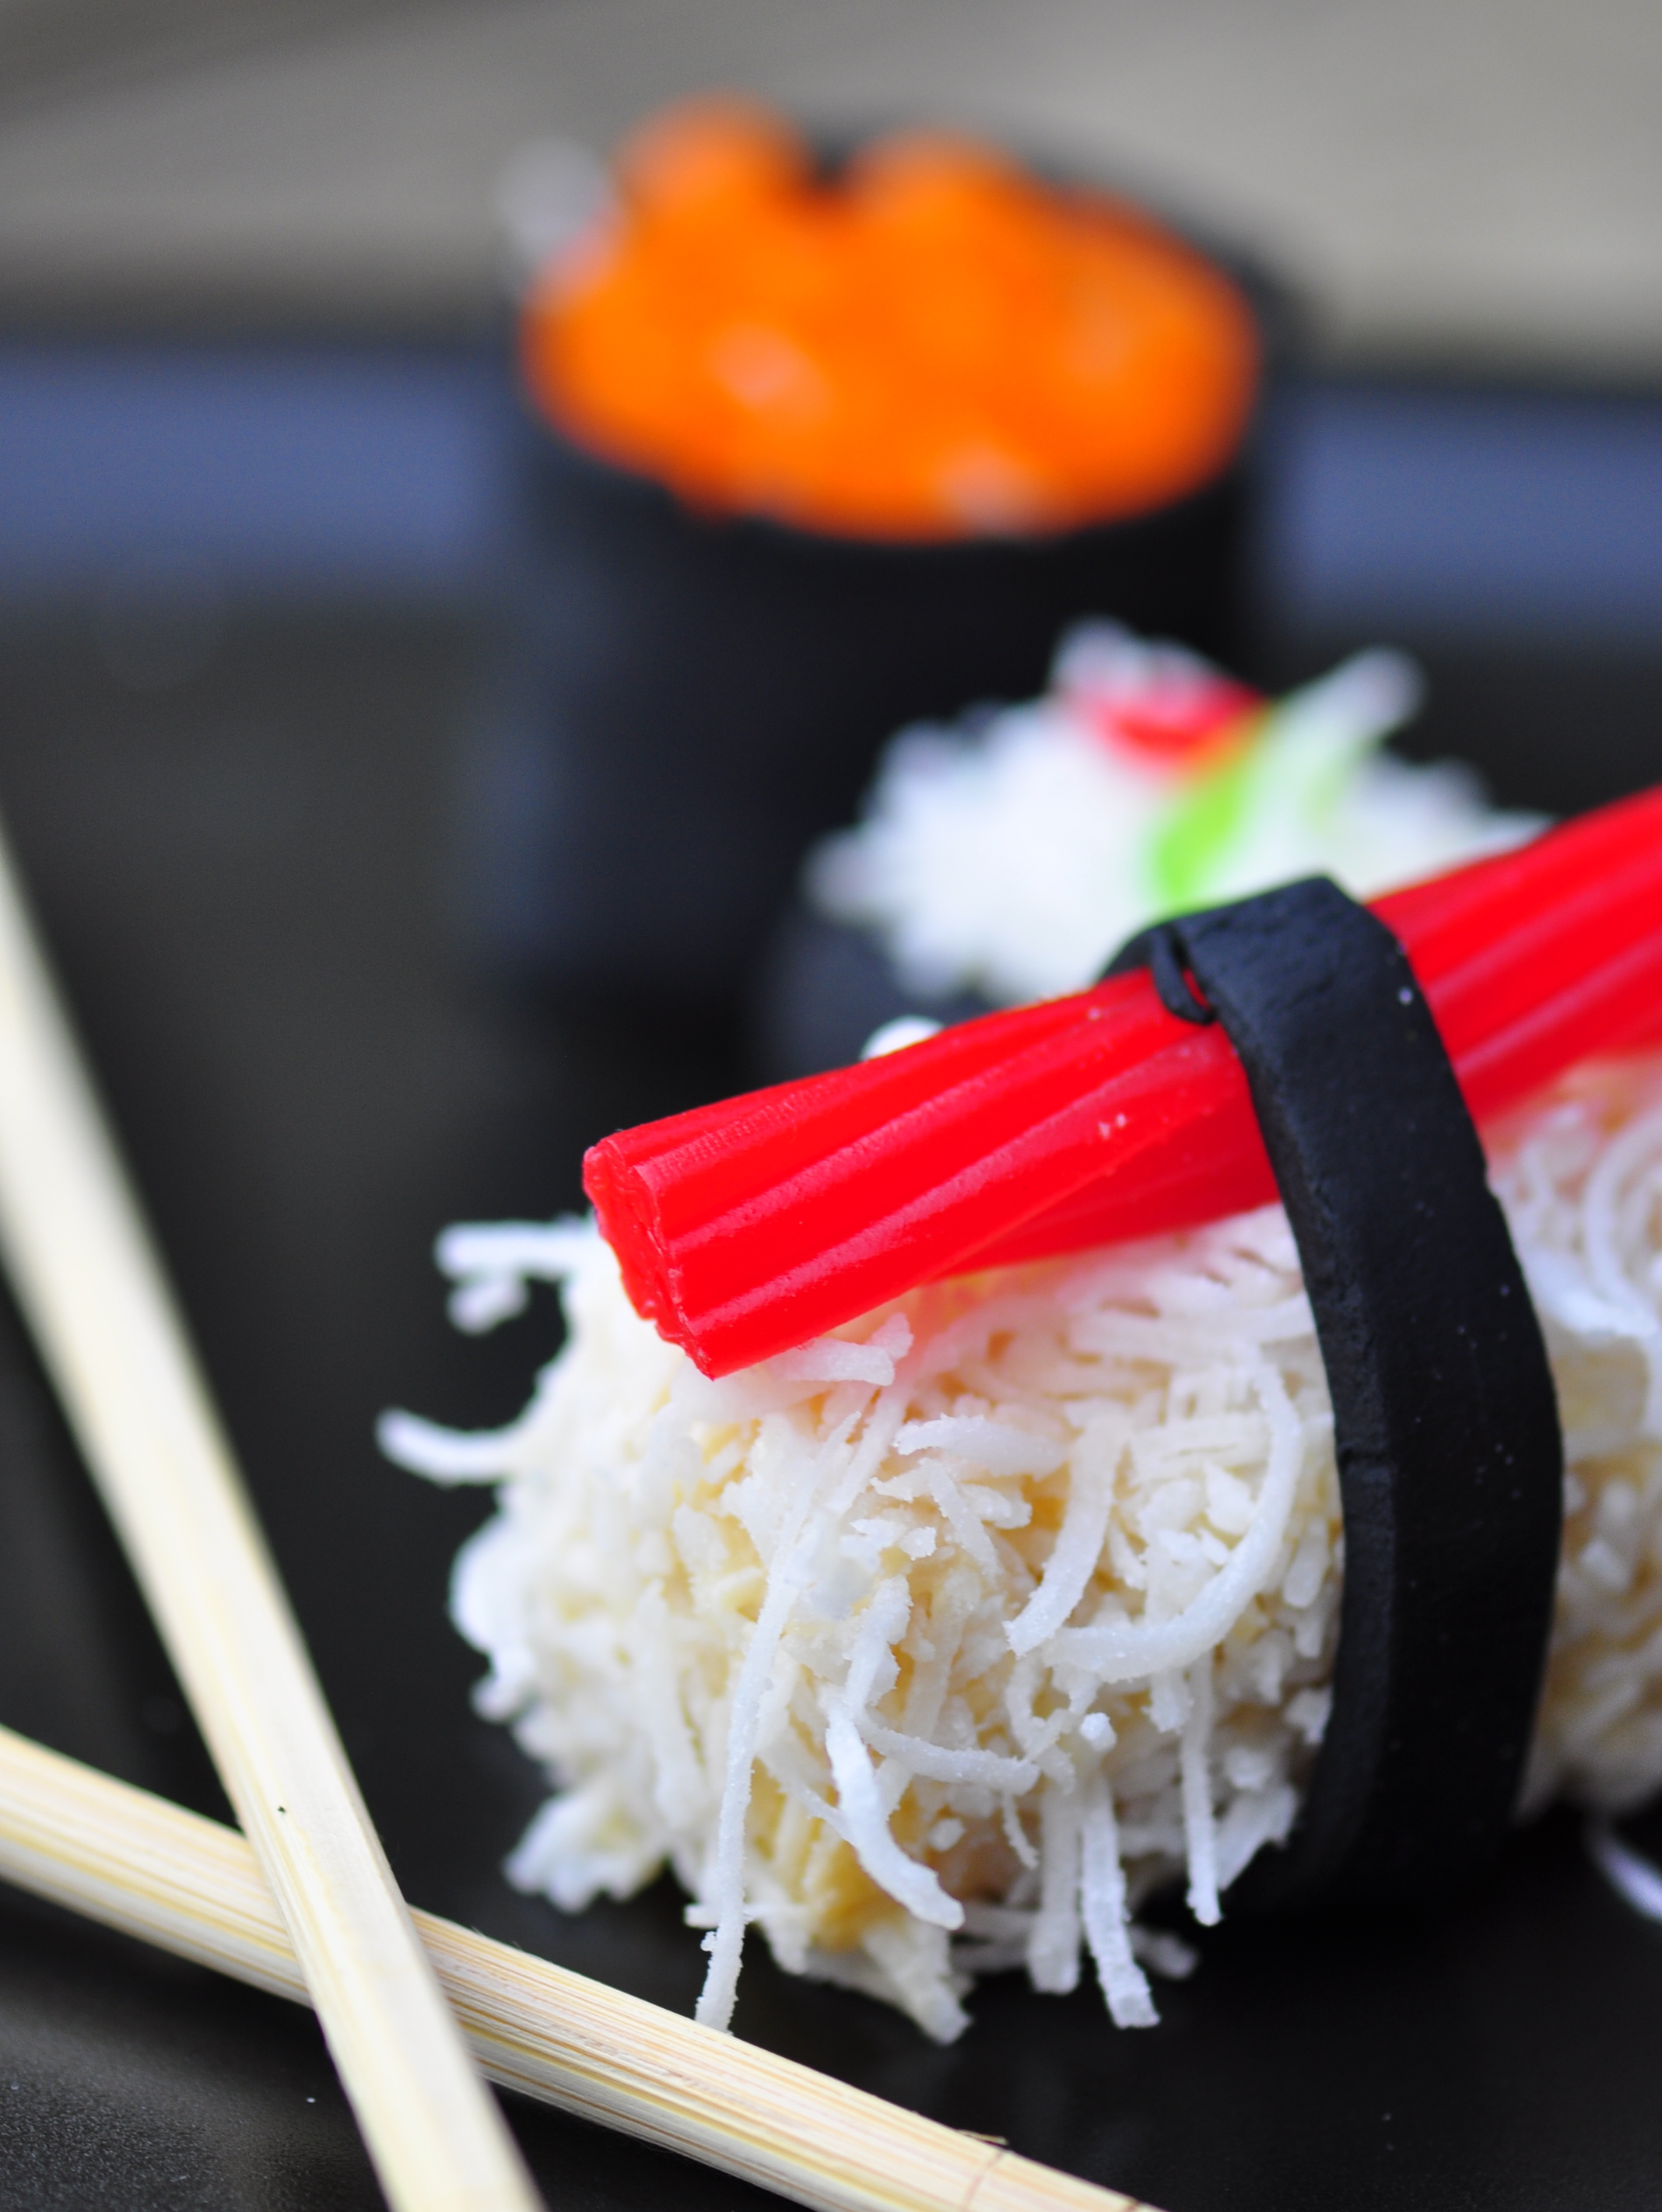
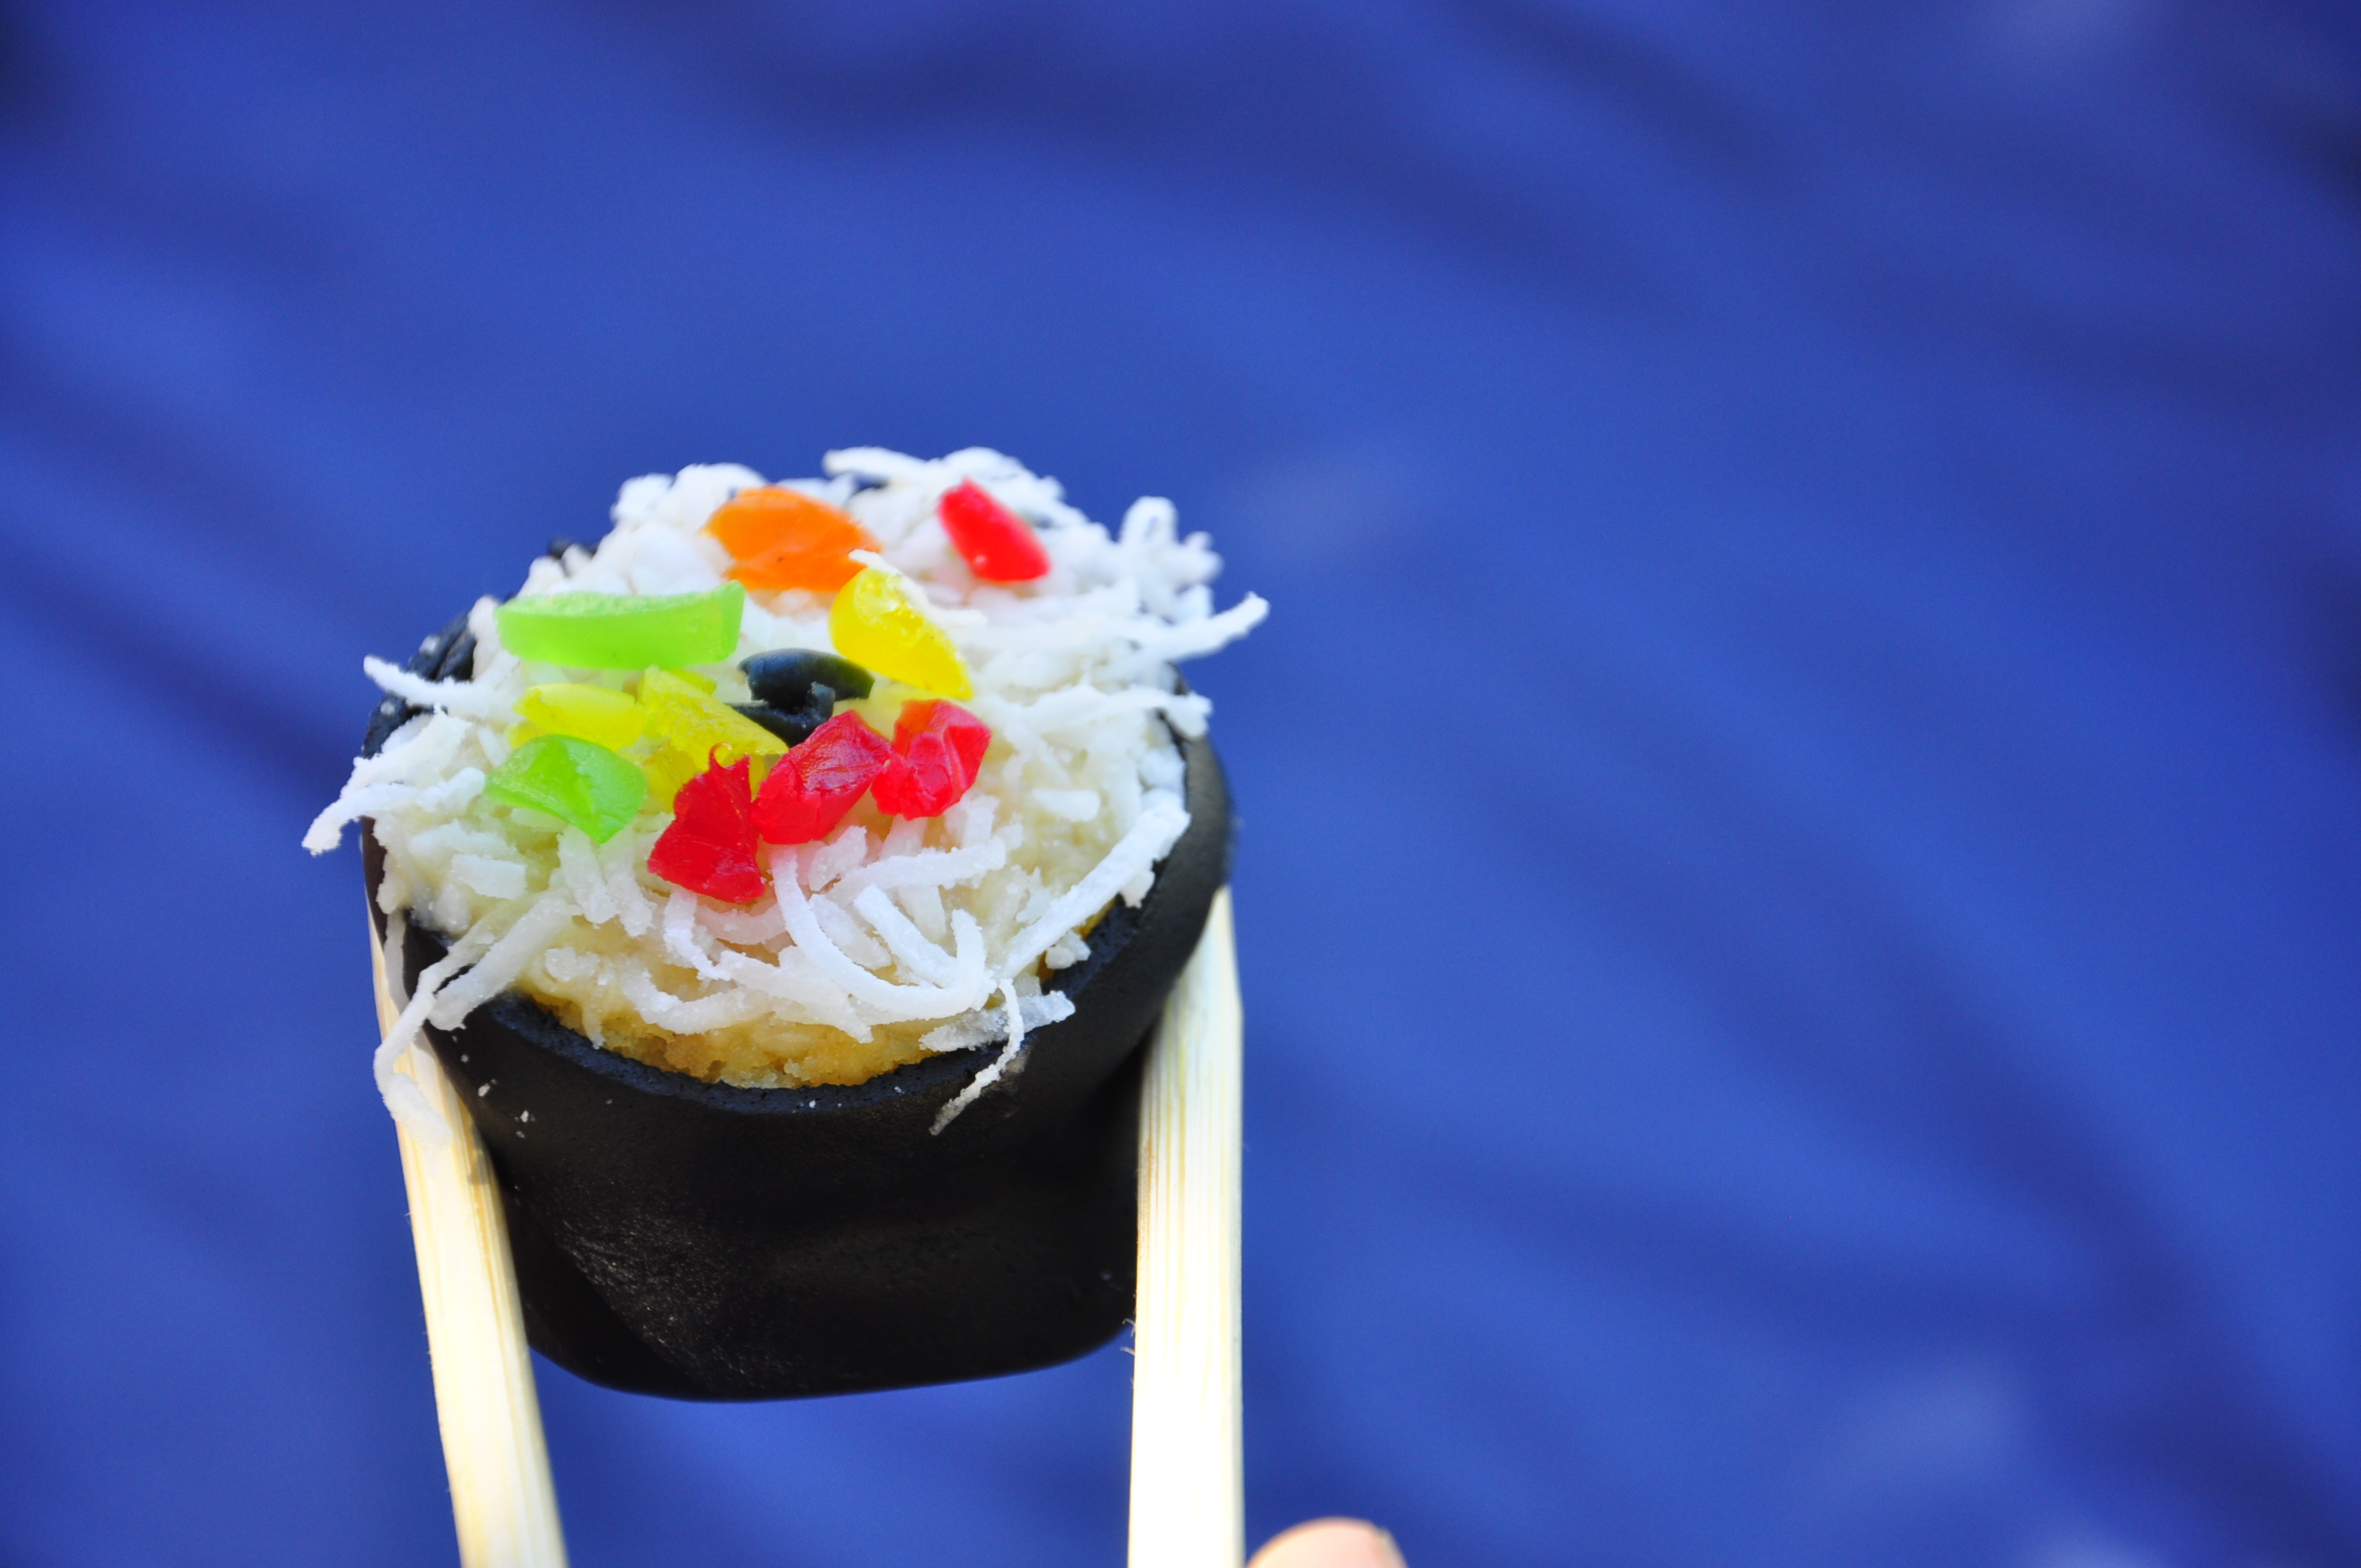
Surround each cake shape with strips of fondant, and smooth it down with your fingers. For circular pieces, you would want the fondant to only cover the sides, giving the appearance of seaweed holding together rice. For rectangular pieces, wait until you put the candy down, then put a thin, small strip of fondant around it, giving it the appearance of sashimi (see photo).
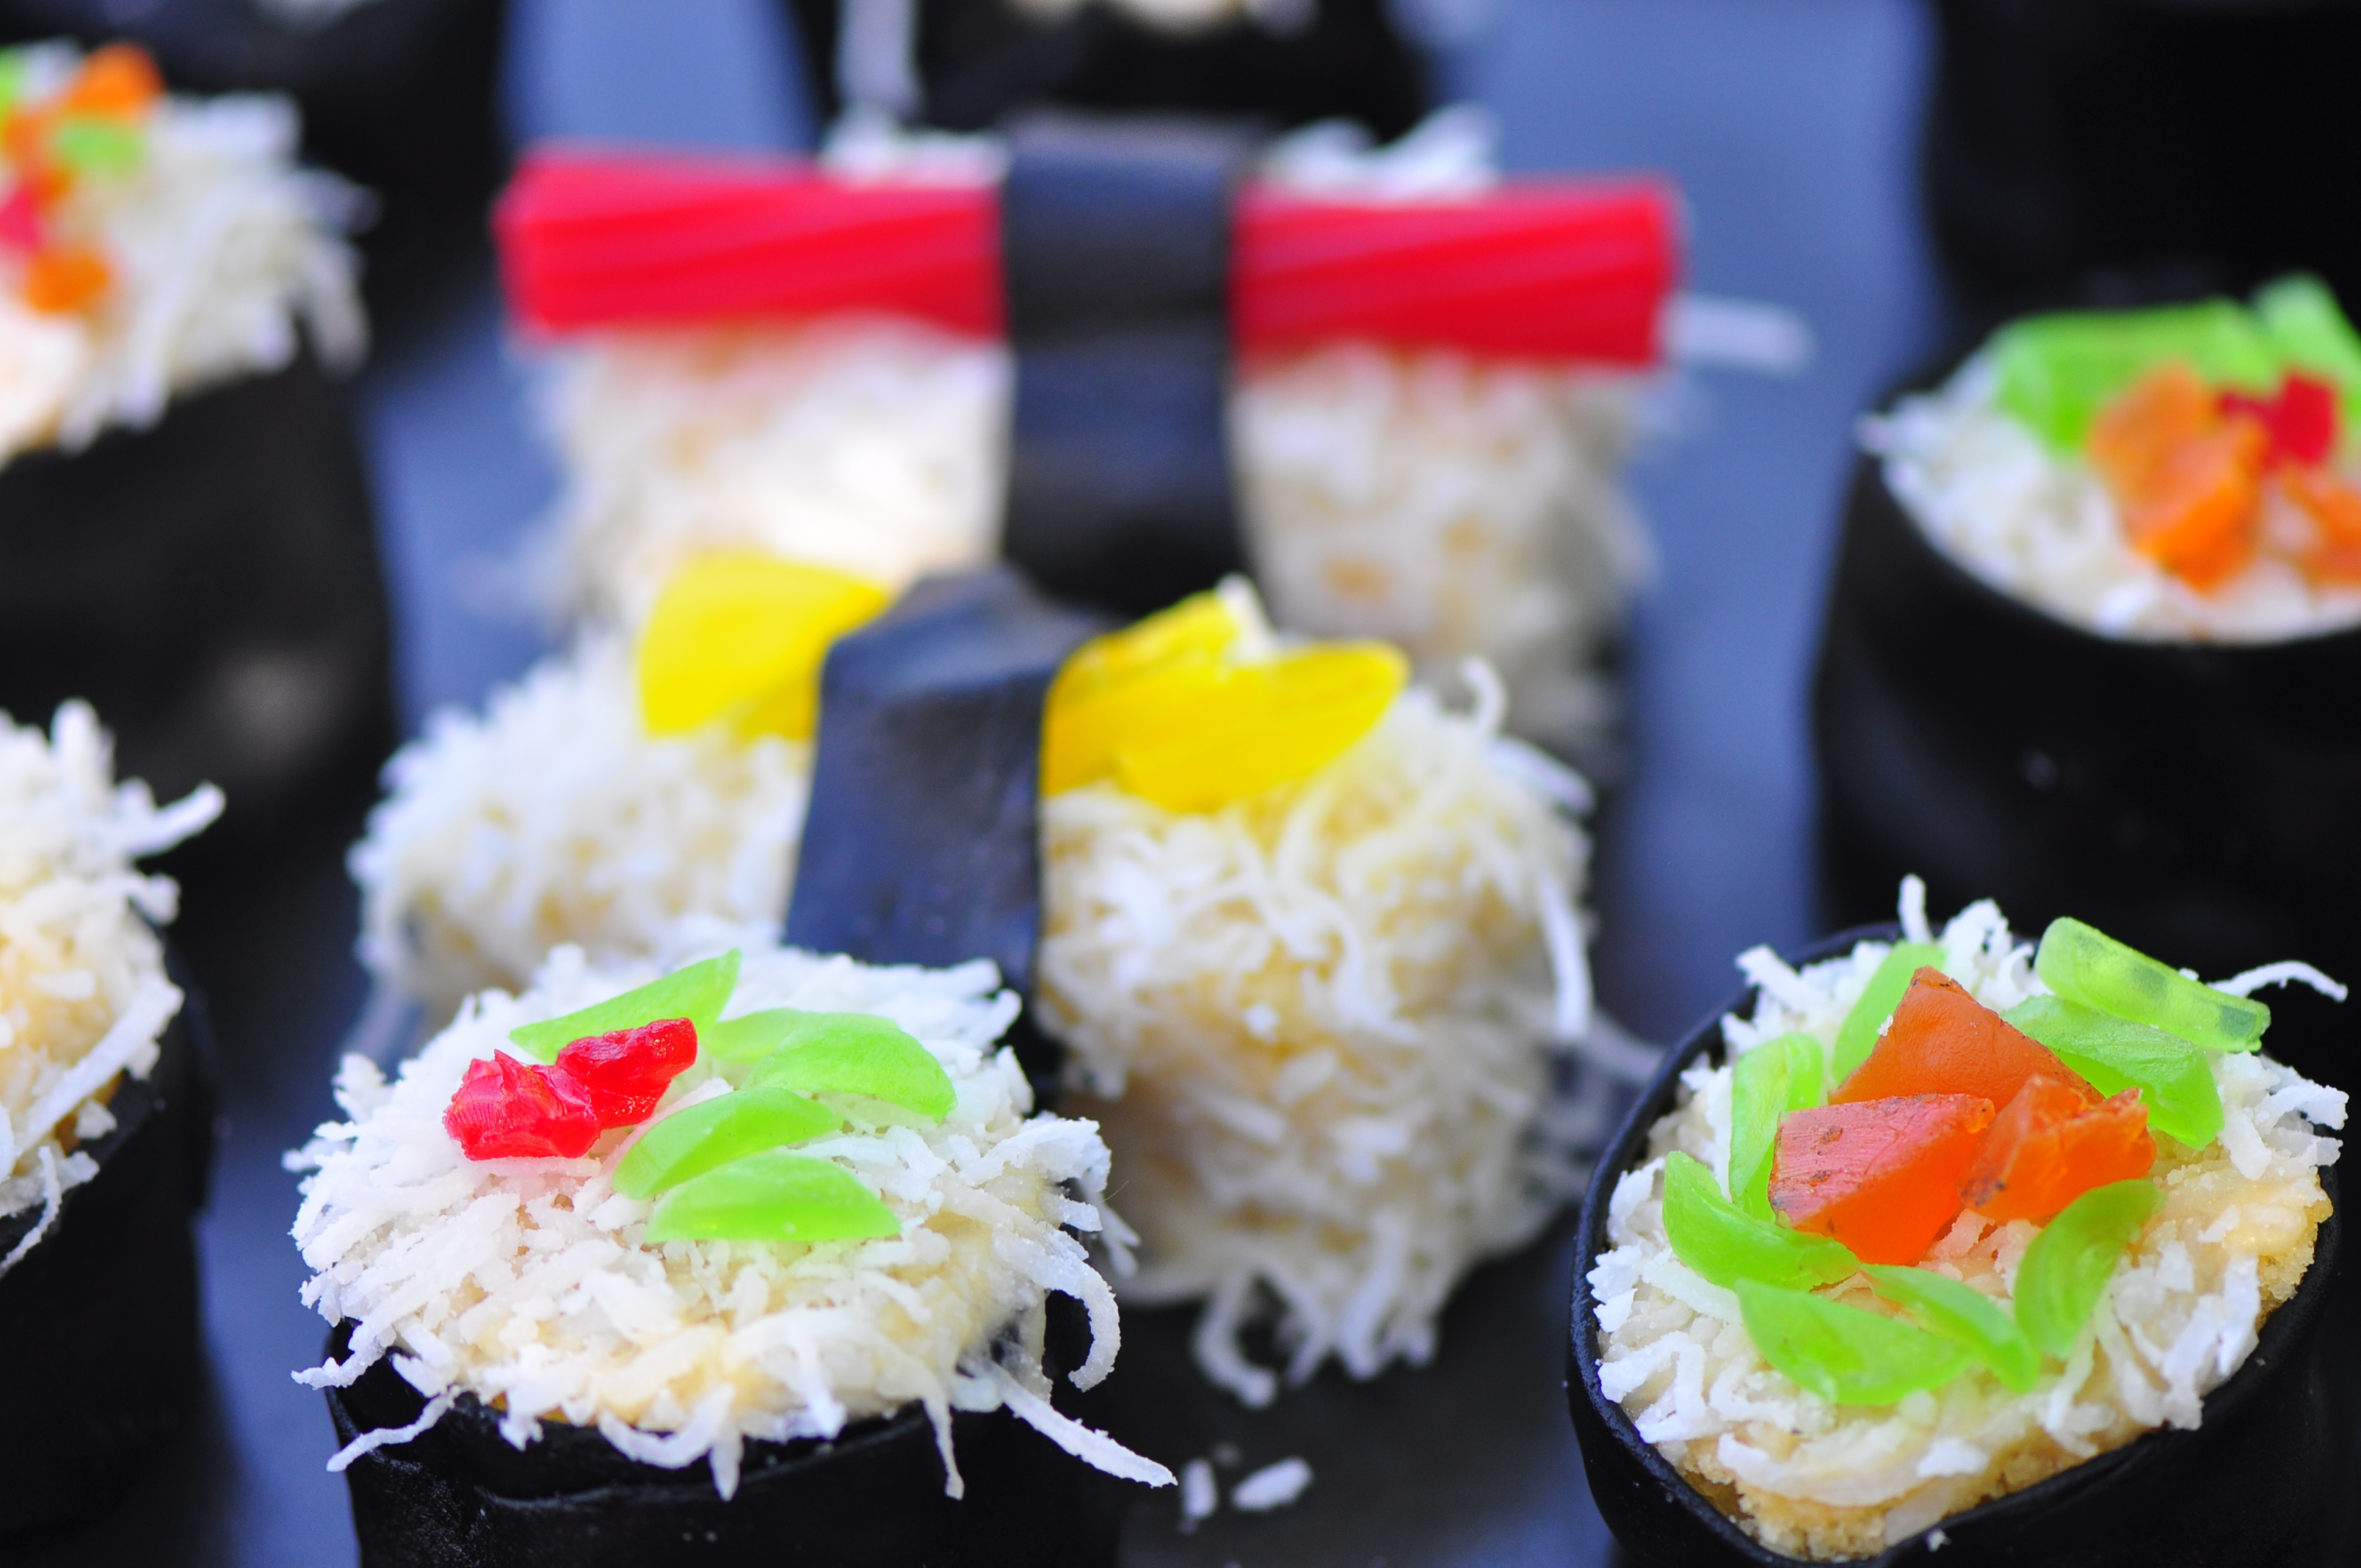
Place the grated coconut in a shallow bowl and press the top of the sushi into it—the butter cream should stick to the coconut, giving the appearance of rice. For sashimi pieces, you will need to press the sides in as well.
Decorate the tops of the round sushi with jelly beans or sliced jujubes to mimic real sushi toppings (sashimi can be decorated with orange sliced candies or licorice, and a fondant strip placed perpendicular to the trim). To give a sort of “caviar” looks, I halved jelly beans and places them all cut-side down into the icing.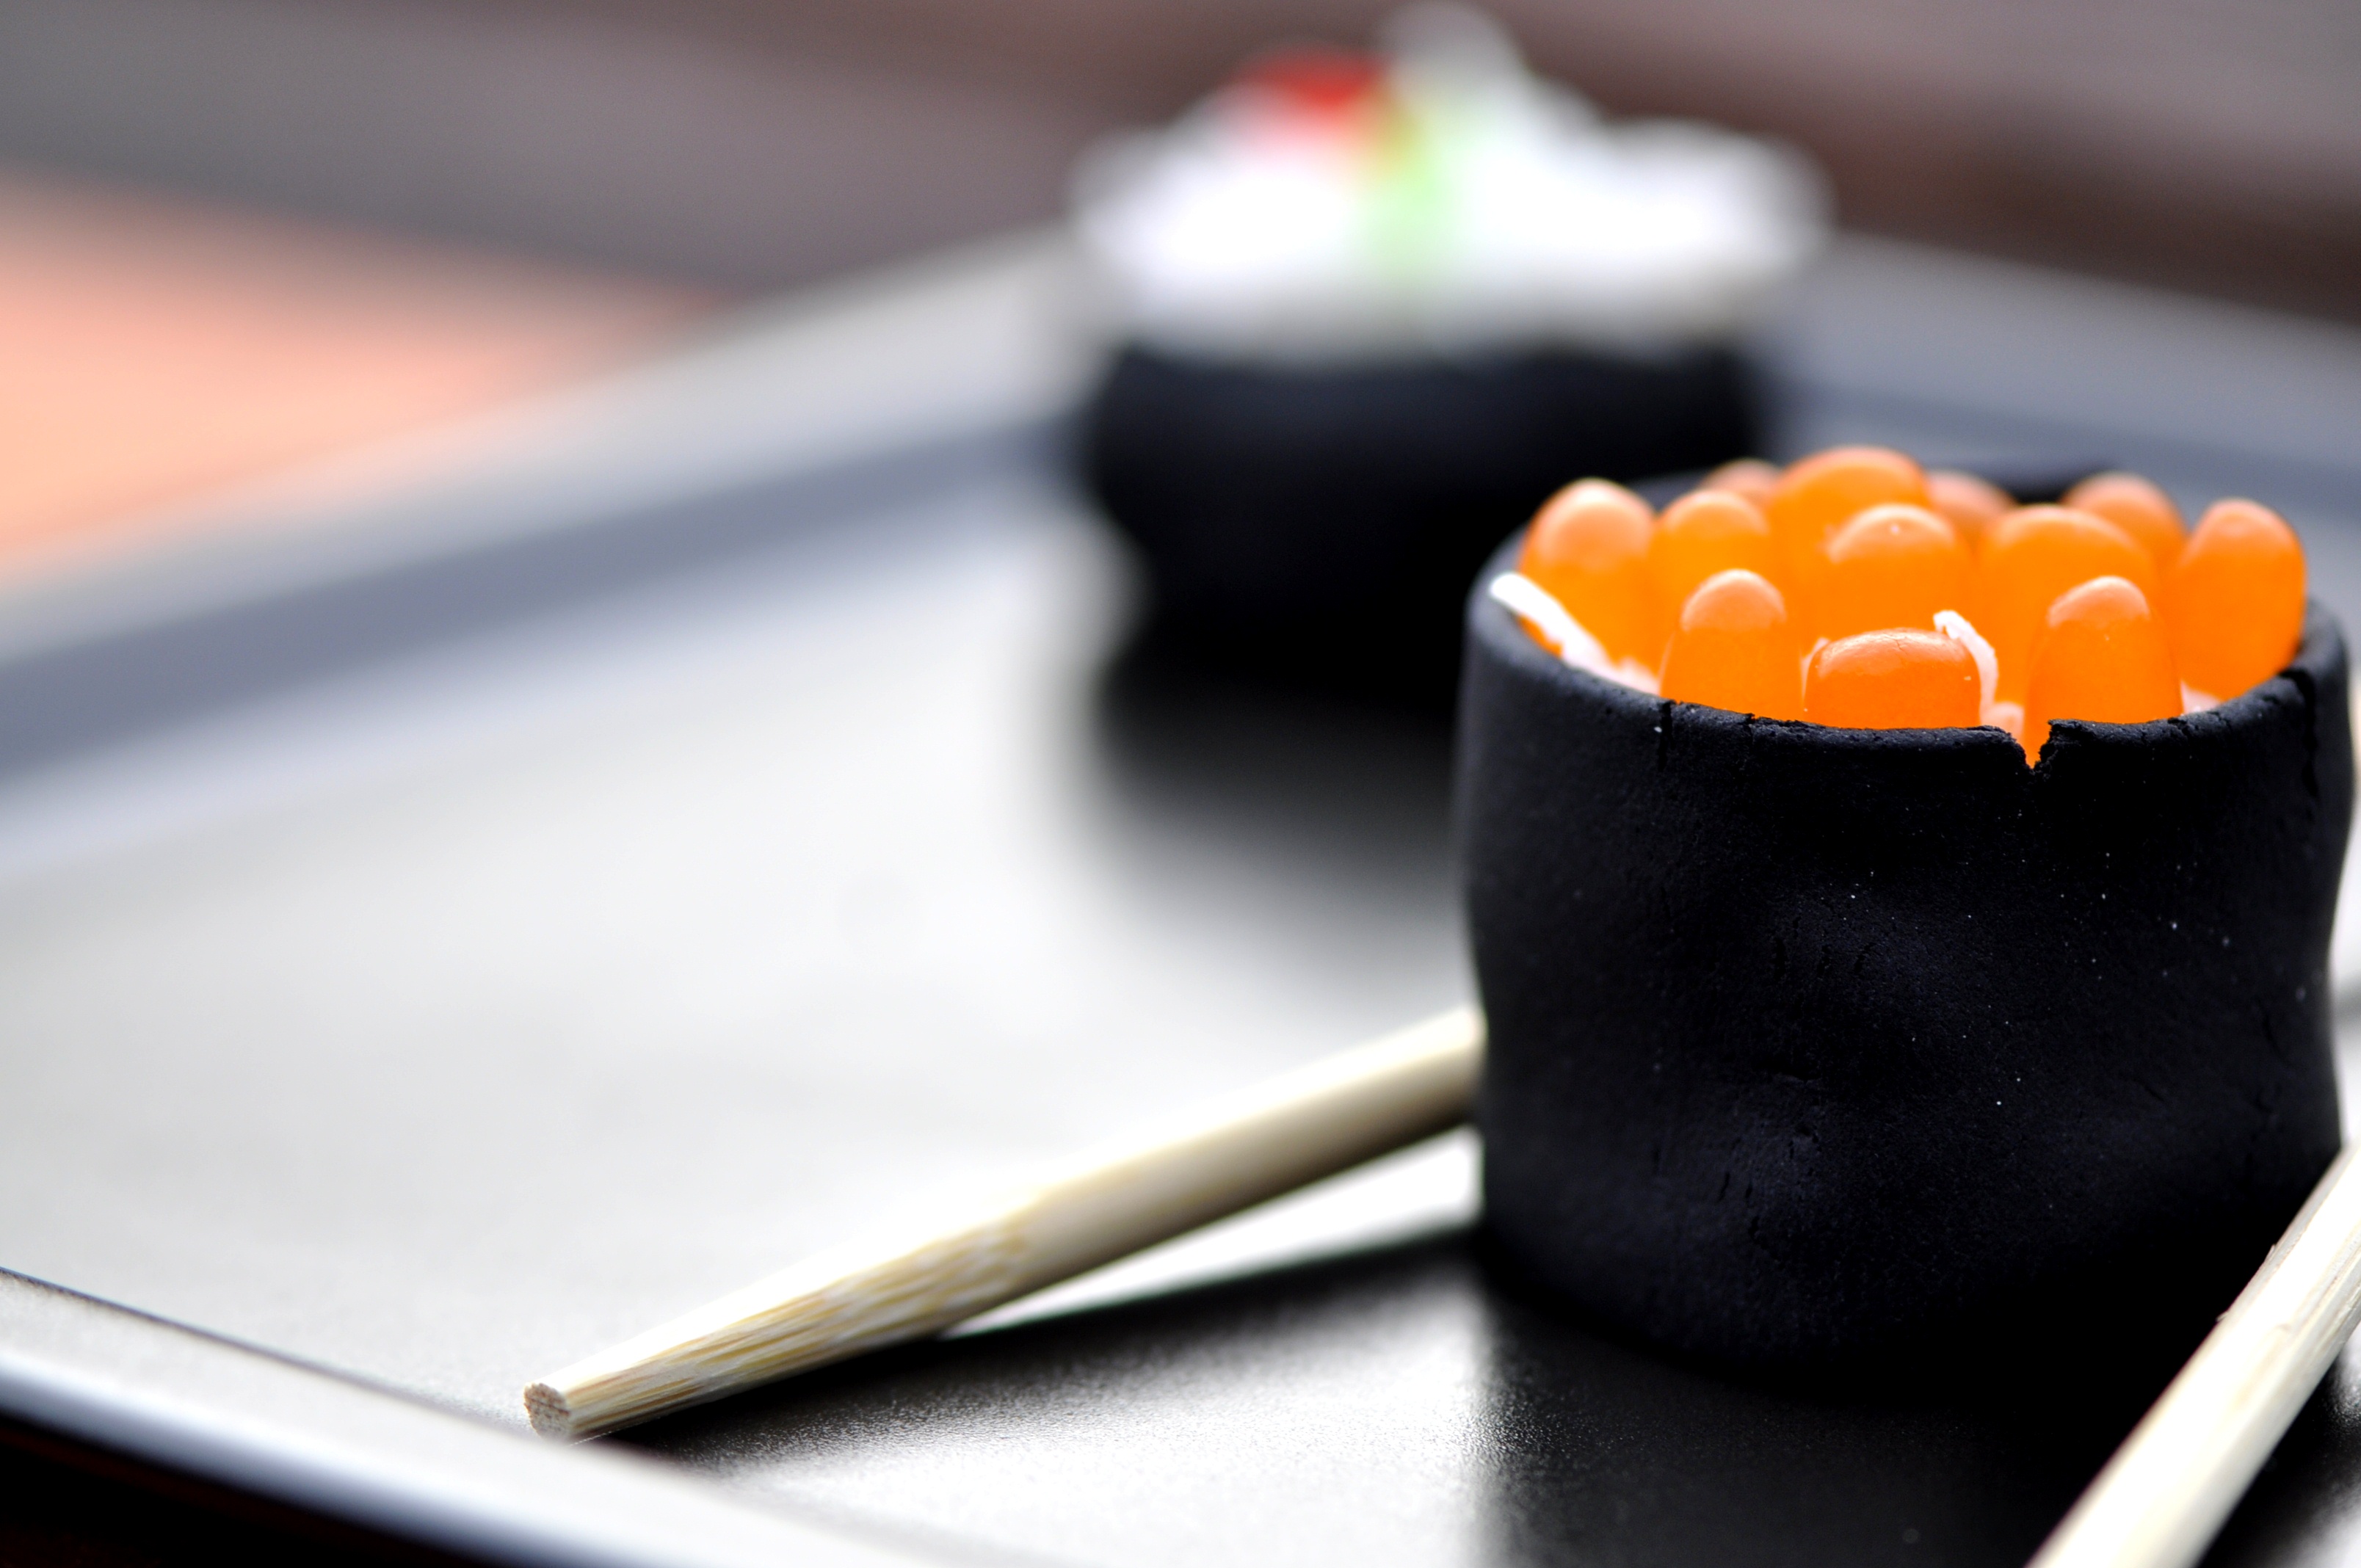

Amazing!
I had loved the pics earlier n looove this recipe!!!…. How very creative!!!!… Just fabulous!!! 🙂
Thank you very much! If you ever decide to make them let me know how they turn out
Reblogged this on shopscoop.co.za and commented:
Happy Nom Nom
Xo Team Scoop
Thanks for the re-blog!
So impressive! 🙂
I’m glad you like them! 🙂
Cupcakes and sushi…does not get any better than that.