Bread is intimidating. You have to keep an eye on temperatures, the rising of the dough, shaping the rolls, boiling and baking. That’s why when I baked these, I was surprised by how process went seamlessly, the buns came out looking picture perfect, and they tasted even better.
The tutorial I’ve included in the recipe is really helpful; if you’re new to rolls (as I was) and need a couple of good tricks up your sleeve, this is a good one to hold on to.
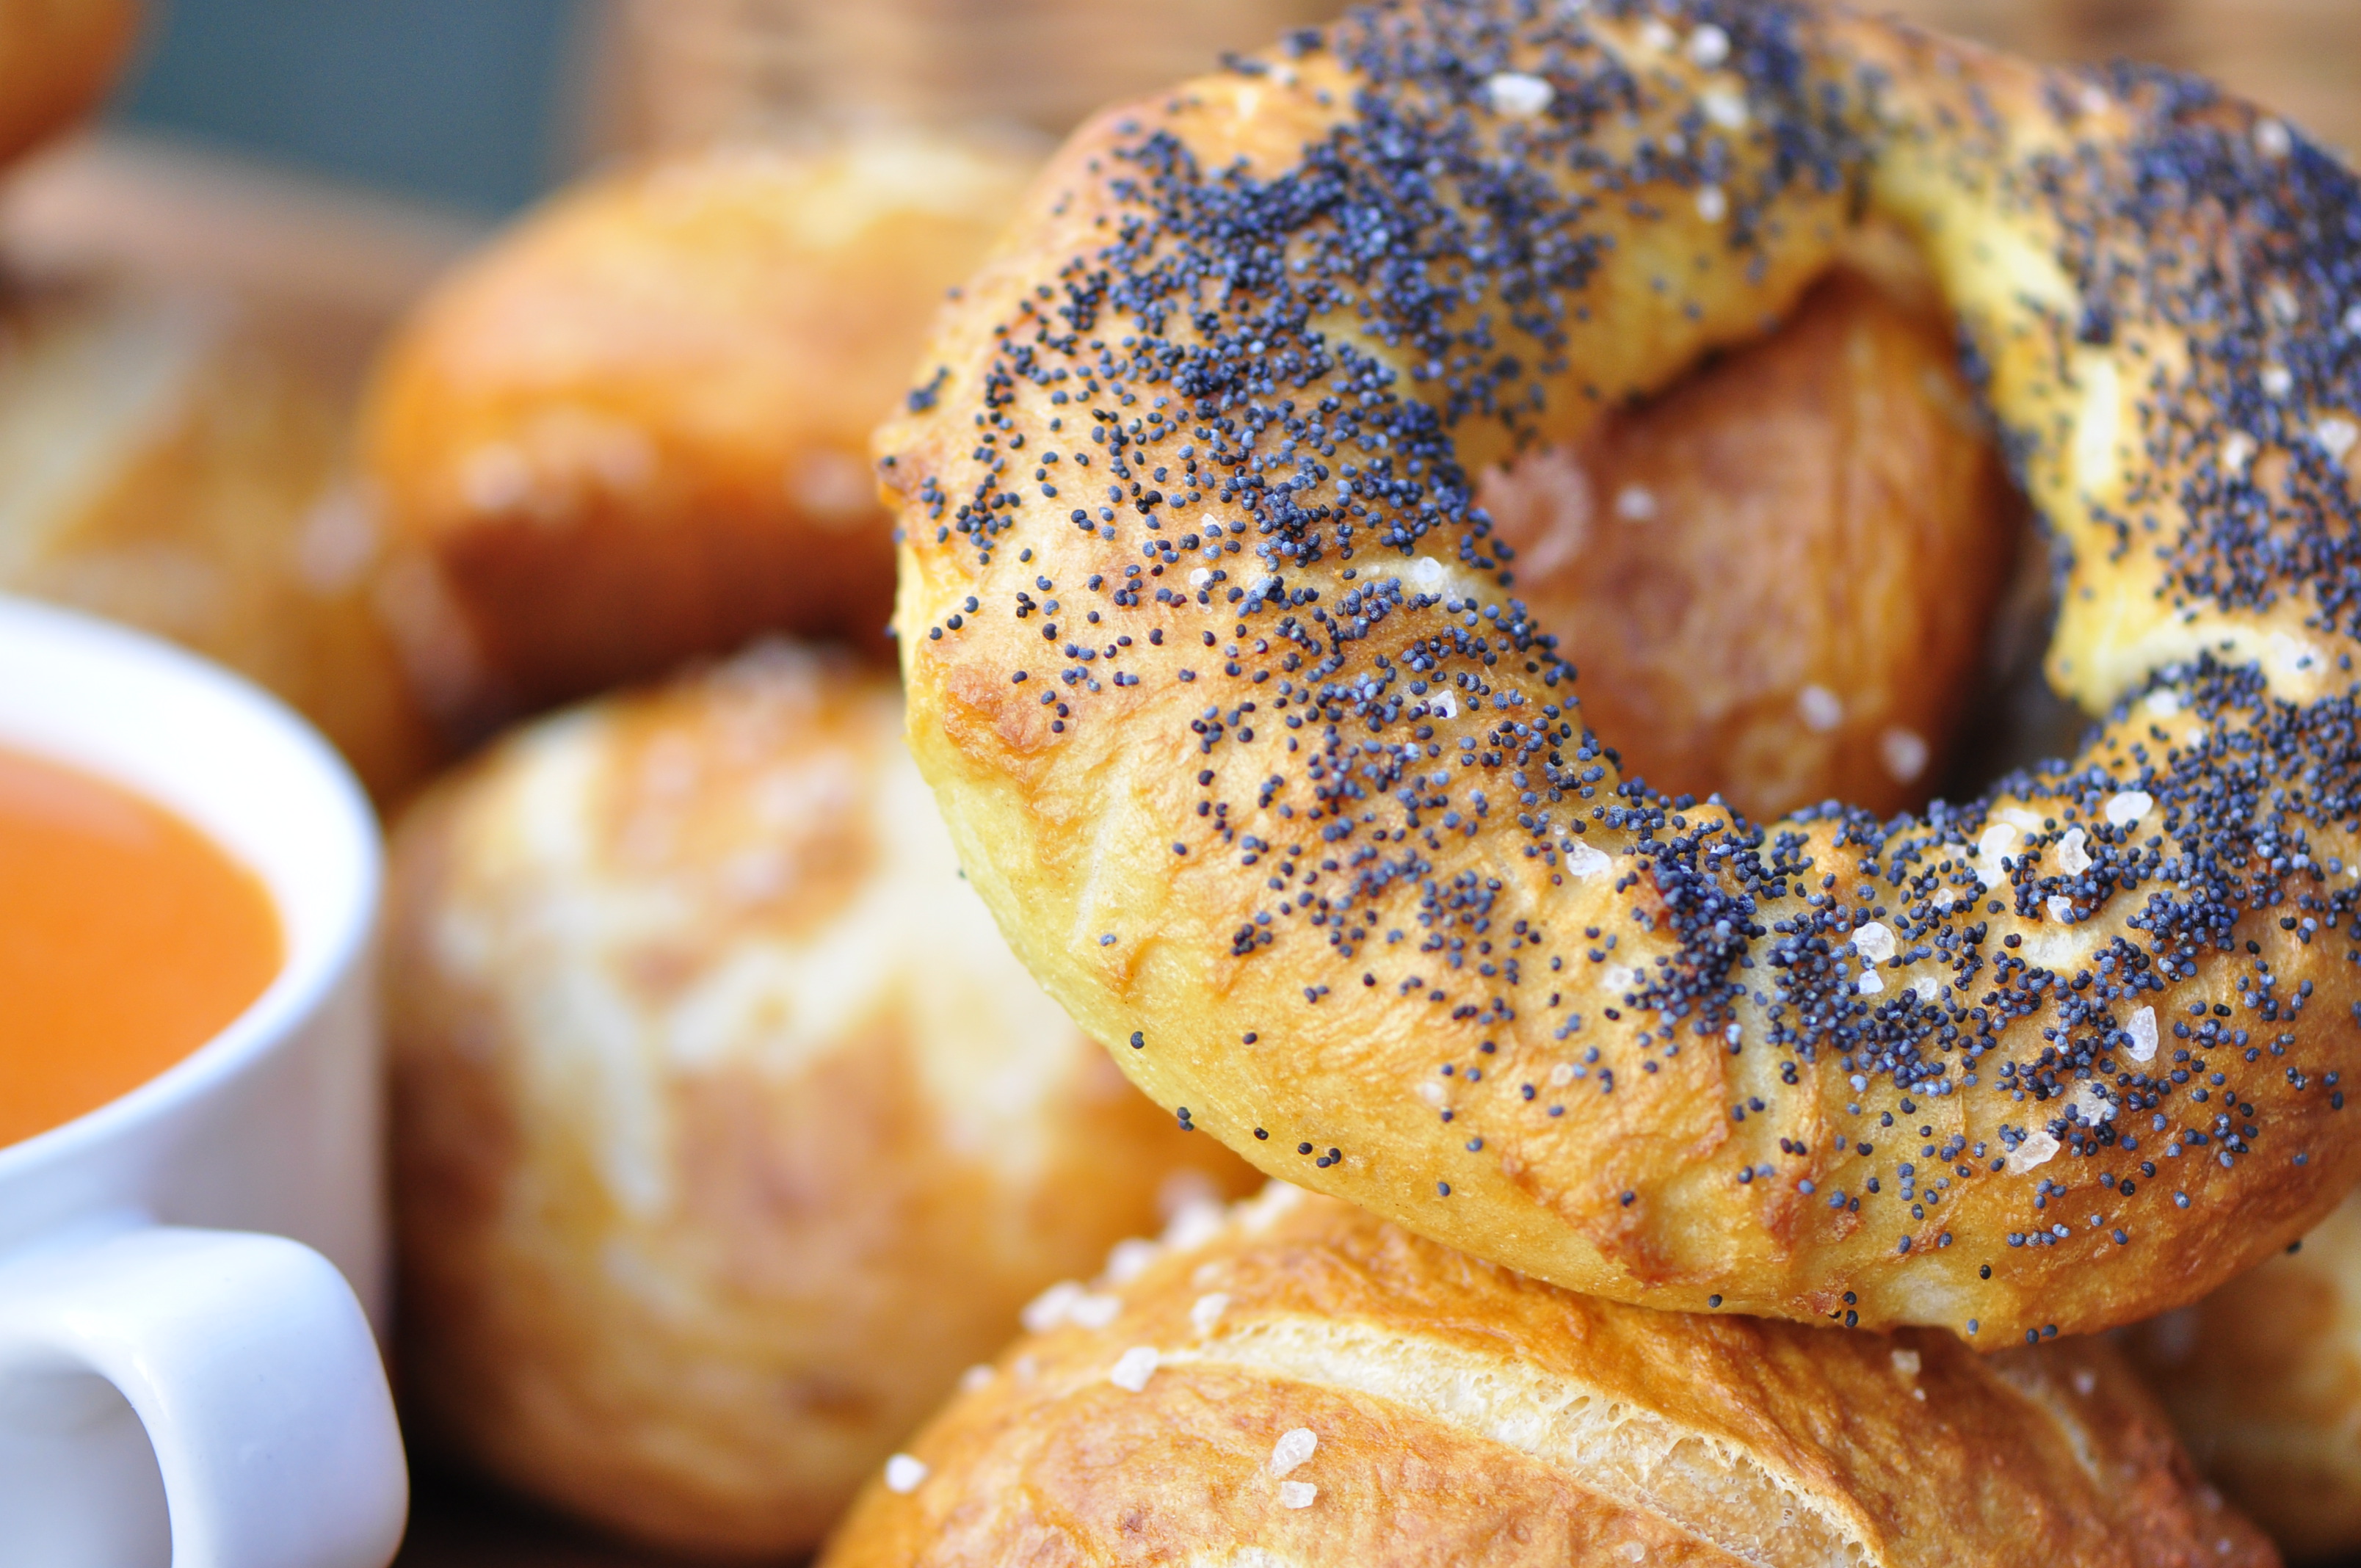
I decided to experiment with a small portion of the dough by making bagels and sandwich-length buns. I would recommend testing out the bagel shape the most because the consistency was ideal for dipping in soups and toasting, while the process was no more difficult than the rolls. Just sprinkle some poppy seeds on top along with the coarse salt and there you have it. Make a long, thin piece of dough, form a circle and pinch to two connecting ends. Boil as you would the other rolls and bake for the same amount of time as well.
The recipe I used for the rolls was from Mel’s Kitchen and worked perfectly. I am still learning the tricks to using my stand mixer so the speeds were up and down, but I generally stayed at speed 2 and it worked out well.
Sidenote: I was pleasantly surprised with how well these rolls turned out, they looked perfect. The only part where I messed up was after the baking—I didn’t wait until they had fully 100% cooled before storing them in airtight containers. This caused the rolls to form a bumpy, moist exterior which is still edible when toasted or oven-warmed, but definitely lessened the appeal. The rolls are best fresh from the oven and if you are storing them overnight, be sure to cool them completely!

Ingredients
- 1 tbsp. instant yeast
- 2 tbsp. vegetable oil
- 2 cups warm milk
- 1 1/2 cups warm water
- 2 tsp. salt
- 6 1/2 – 8 cups unbleached all-purpose flour
- 3 quarts water
- 1 tbsp. granulated sugar
- 1/4 cup baking soda
- Coarse salt for sprinkling
Method
In the bowl of an electric mixer—or hand in a large bowl—stir together the yeast, oil, milk and water. Add the salt and two cups of the flour. Add the rest of the flour gradually until a soft dough is formed and knead for 3-4 minutes. You may not need to use all the flour so be careful of the moisture level while mixing; add the flour until a soft dough is formed that clears the sides of the bowl. Be sure not to overflour.
Transfer the dough to a large lightly greased bowl, cover it with greased plastic wrap and let it rise in a warm, dry space until doubled in size (1-2 hours).
Portion the dough into 16 pieces and roll each piece of dough into a lovely little round ball. The recipe I followed suggested this tutorial which worked perfectly for me; it gave me that puffy ball of dough without too much hassle or frustration.
Lay out the rolls on baking sheet lined with lightly greased parchment. Let them rest for 15-20 minutes.
While the dough rests, bring the water, sugar and baking soda to a boil in a large pot.
Working with one piece of dough at a time, carefully take it off the parchment or counter, flip it over in your hand and pinch the bottom to form a little pucker and help the dough form a nice, taut ball. Take care not to deflate the dough; you should pinch just the very edge of the dough.
Place 3-4 dough balls in the boiling water and boil for 30 seconds to 1 minute on each side.
Remove the dough from the boiling water with a slotted spoon or colander and let the excess water drip off into the pan. Place the boiled dough balls onto lined baking sheets (lined with lightly greased parchment—you can use the same parchment you used to rest them on before).
Preheat the oven to 425 degrees F.
Using a lightly dampened sharp knife, slice 2-3 cuts into the top of each boiled roll about 1/4-inch deep or so. Lightly sprinkle each dough ball with coarse salt and you are ready to put them in the oven.
Bake for 20-22 minutes until the rolls are deep golden brown. All bread products are best the day they’re made, but if you have leftovers (this is a pretty hefty batch) you can reheat them in the oven the next day or two.


Wow! These do look absolutely perfect and fluffy inside!
Beautiful!
Goodness they look as light as donuts inside x
Wow – impressive! Great colour on the outside and an even better crumb on the inside. Perfect!
Is there anything better than a pretzel roll? Yours are gorgeous!
These look amazing- I’m going to have to try making these ASAP 🙂
I hope you enjoy them! Thanks for reading 🙂